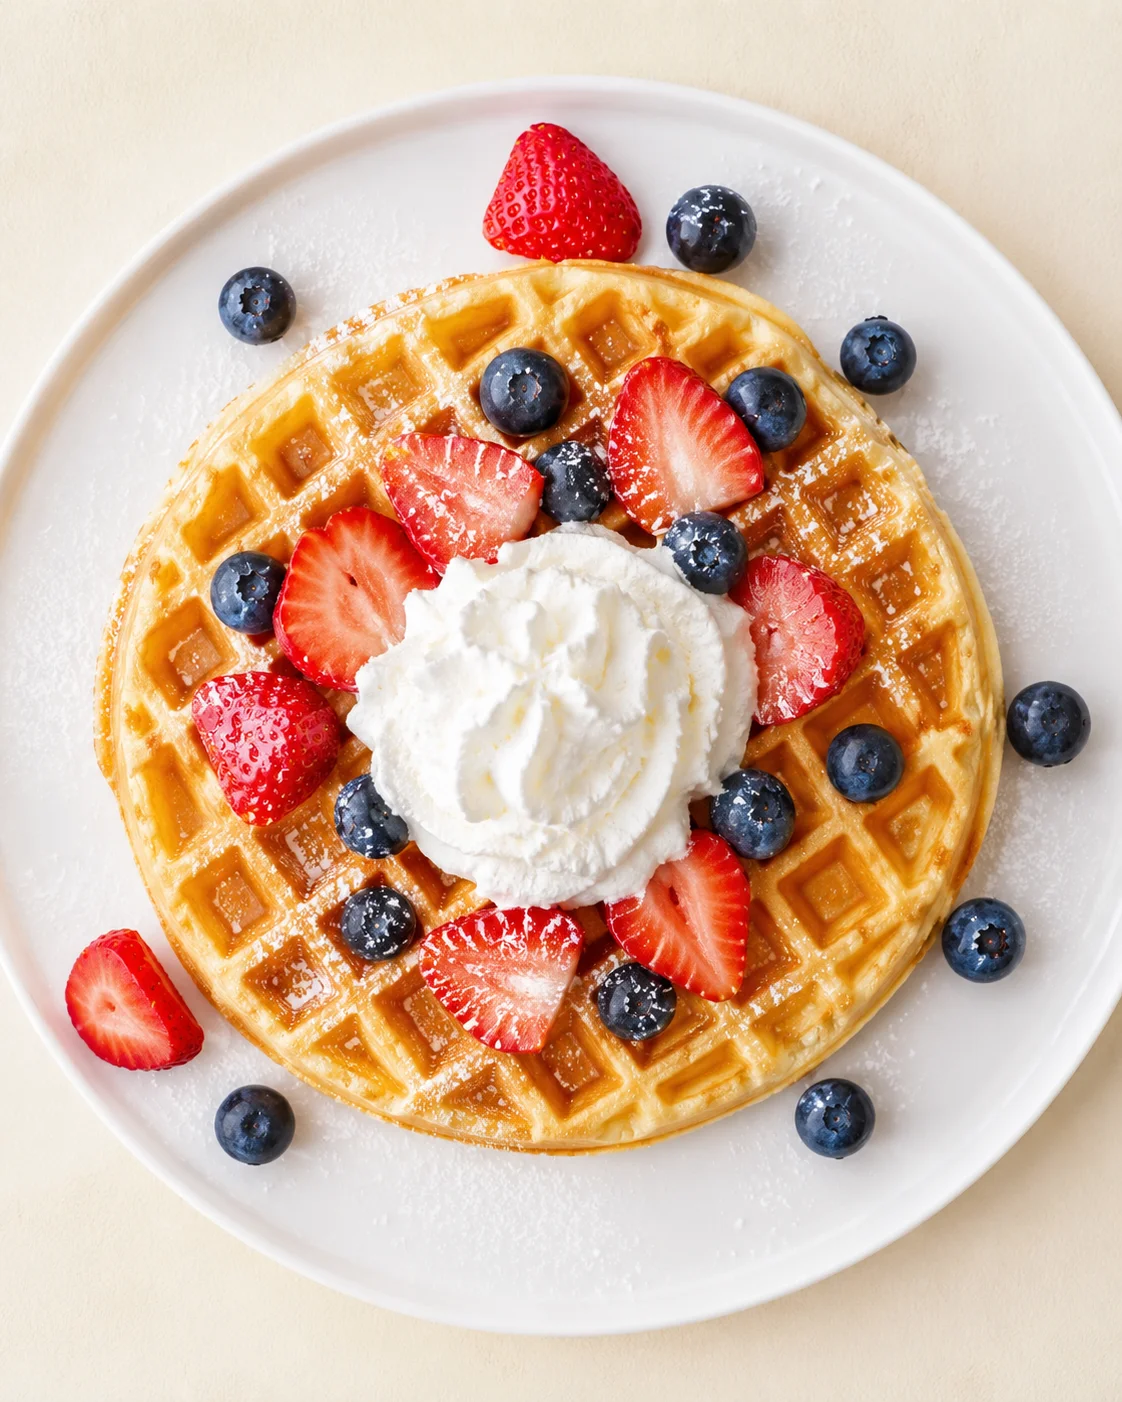
Homemade Waffles with Buttery Flavor and Crisp Edges

There’s something about homemade waffles that just feels cozy and special, right? This easy recipe is exactly that—simple, made from pantry staples, and ready in about 20 minutes total (just 10 minutes to mix the batter and 10 to cook). You’ll end up with waffles that are golden and crisp on the outside, tender and soft inside. And don’t stress if the batter has a few small lumps—that’s totally normal and actually helps keep them light.
Whether you’re looking for a quick weekend brunch, a fun dinner twist, or a make-ahead breakfast stash for those hectic mornings, I’ve got you covered. In this post, you’ll find a clear list of ingredients, straightforward steps, plus my best tips for getting those perfectly crispy edges. I’ll also share mix-in ideas, flavor swaps, and the best ways to store and freeze your waffles so they stay delicious all month long.
Stick with me for the full recipe, creative add-ins, and answers to common waffle questions so you’ll never be stuck with soggy or sad waffles again.
Fast, Flavorful, Pantry-Friendly
Want homemade waffles fast without fuss or fancy ingredients? These homemade waffles absolutely fit the bill. They come together in about 20 minutes and taste like you spent way more time on them. Here’s why you’ll keep coming back to this recipe:
- Quick and easy: From start to finish, it’s about 20 minutes. No complicated tricks or gadgetry—your waffle maker and a bowl are all you need.
- Pantry-friendly ingredients: You’ll use simple staples like flour, eggs, milk, baking powder, fat, and a touch of sugar. That means no emergency runs to the store.
- Forgiving batter: Don’t worry about tiny lumps. Plus, letting the batter rest for 5–10 minutes smooths out the texture and makes the waffles fluffier.
- Crisp on the outside, tender inside: I’ll share my tips to make sure your waffles get that perfect golden crust while staying light and fluffy inside every time.
- Loads of flavor options: Sweet or savory, you can add chocolate chips, fresh berries, pumpkin, cheese, or bacon. Or treat yourself to Cinnamon Roll Waffles with Cream Cheese. This batter is your blank canvas! For a high-protein twist, try cottage cheese waffles.
- Awesome make-ahead potential: The batter keeps for up to 24 hours in the fridge, and cooked waffles freeze beautifully for up to two months. Reheat in a toaster or air fryer and enjoy a fast, homemade breakfast anytime.
- Perfect for crowds: Make a waffle bar with toppings like homemade cherry pie filling, or use waffles to build sandwiches. It’s super easy to feed a hungry family or friends with this recipe.
All in all, these homemade waffles are your go-to when you want a tasty, hassle-free meal that feels a little extra special without the stress.
These homemade waffles are my little kitchen win. You whip them up with ingredients you almost always have on hand, and in about 20 minutes, you’ve got waffles to dress up any way you like. Crisp gold outside, tender soft inside, and a batter that’s forgiving enough for anyone to make. Sweet for brunch, savory for dinner (try Cheesy Garlic Waffles with Shredded Mozzarella), or double the batch and freeze extras to pull out all month long.
- Simple and quick — no complicated steps or rare ingredients.
- Versatile — easily customized sweet or savory, with plenty of mix-in possibilities.
- Freezer-friendly — make in advance and reheat easily for busy mornings.
- Crowd-pleasers — great for brunch buffets or waffle sandwiches for family dinner.
Ingredients and Quantities
- 2 cups all-purpose flour
- 2 tablespoons granulated sugar
- 1 tablespoon baking powder
- ½ teaspoon salt
- 2 large eggs
- 1¾ cups milk
- ½ cup melted butter or vegetable oil
- 1 teaspoon vanilla extract
Mixing and Cooking Directions
- Preheat the waffle maker fully following the manufacturer’s instructions.
- Whisk together all-purpose flour, granulated sugar, baking powder, and salt in a large bowl until evenly mixed.
- Beat the eggs in a separate bowl until smooth.
- Stir milk, melted butter (or oil), and vanilla into the beaten eggs until combined.
- Pour the wet ingredients into the dry and gently stir until just combined; small lumps are fine—do not overmix.
- Let the batter rest 5–10 minutes.
- Lightly grease the waffle iron plates with nonstick spray or melted butter, re-greasing before each batch if needed.
- Pour the recommended amount of batter into the center of the preheated waffle iron so it spreads evenly.
- Close the lid and cook until the waffle is a rich golden brown and the edges are crisp, avoiding opening early.
-
Carefully remove the waffle and transfer it to a wire rack to keep the bottom crisp.
- Repeat greasing and cooking with the remaining batter until all waffles are cooked.
Tips for Crisp, Tender Waffles
- Keep mixing gentle—overworking the batter develops gluten and makes waffles dense and chewy. Stop stirring once the lumps disappear.
- For fluffier waffles, let the batter rest for 5 to 10 minutes. This helps the flour absorb moisture and activates the baking powder.
- Cook your waffles a little longer or on a darker setting for crisp edges. If you prefer softer waffles for heavy toppings like fried chicken (try our Crispy Dill Pickle Parmesan Chicken), dial it back a bit—or keep them crisp and choose a lighter, crunchy topping like Peanut Butter Chocolate Granola.
- Always cool your waffles on a wire rack—the same trick we use for Crispy and Easy Zucchini Fritters to keep them crunchy. Stacking hot waffles traps steam and makes them soggy fast.
- If keeping waffles warm while cooking more, place them in a single layer on a wire rack in a low oven set around 200°F (95°C).
- When adding extras like berries, chocolate chips, or cheese, chop them into small pieces and fold gently. About ½ cup per batch is just right.
- If your waffles stick to the iron, double-check it’s heated properly and add a fresh coat of oil or nonstick spray before each batch.
Sweet and Savory Variations
- Chocolate chip: Stir in ½ cup mini chocolate chips and cut back on sugar slightly for a sweet treat.
- Blueberries or mixed berries: Fold in ½ cup fresh or thawed frozen berries carefully so they don’t crush.
- Banana walnut: Mix mashed ripe banana and chopped walnuts into the batter, plus a pinch of cinnamon for warmth.
- Cheddar and bacon: Add ½ cup shredded cheddar and ¼–½ cup cooked, crumbled bacon for a savory twist well-loved by everyone. For more cheesy goodness, bake a batch of Copycat Cheddar Bay Biscuits.
- Pumpkin spice: Swap ¼ cup of milk for canned pumpkin and add 1 teaspoon pumpkin pie spice to bring cozy fall vibes.
- Buttermilk waffles: Use buttermilk instead of regular milk to add tang and extra tenderness—if you love baking with buttermilk, try these Flaky Buttermilk Biscuits.
- Vegan option: Replace eggs with flax or chia “eggs” (1 tablespoon ground seed mixed with 3 tablespoons water per egg), use non-dairy milk and oil instead of butter.
- Gluten-free: Swap all-purpose flour with a 1:1 gluten-free baking flour blend. The texture may vary slightly but still tasty. For another naturally gluten-free bake, try Brazilian Cheese Bread.
Storage, Freezing, and Reheating
After cooking, let your waffles cool completely on a wire rack before storing them.
In the fridge, store in an airtight container for up to 2-3 days.
To freeze, arrange cooled waffles in a single layer on a baking sheet and freeze for about 30-60 minutes (this prevents sticking). Then stack them with parchment paper between each waffle and seal in a freezer-safe bag. Frozen waffles last up to 2 months and still taste great.
For reheating your frozen waffles, here are some easy options:
- Toaster: Pop frozen waffles in straight from the freezer for a quick crisp-up.
- Air fryer: Heat at 350°F (175°C) for 3-5 minutes for extra-crispy waffles.
- Oven: Lay waffles in a single layer on a baking sheet and heat at 350°F (175°C) for 8-10 minutes until warmed through.
If you want to prep your batter ahead, you can keep it refrigerated for up to 24 hours. Just give it a gentle stir before cooking. Avoid storing batter longer than that because the baking powder starts to lose its punch.
Common Waffle Questions
- Q: Can I use pancake batter in a waffle maker?
A: Yes, you can! But pancakes usually make softer waffles that lack the typical crispiness. Try adding a bit more butter or oil and adjust cooking time to get those golden edges. - Q: Why do my waffles turn out soggy?
A: Usually it’s because the waffles aren’t cooked long enough, or the iron wasn’t hot enough. Another common issue is stacking hot waffles—steam gets trapped and sogginess sets in. Always cool waffles on a wire rack and cook them until golden. - Q: Do I need to flip my waffle maker?
A: If your waffle iron flips, flipping can help spread the batter for more even cooking. If it doesn’t, that’s fine—just make sure the temperature is steady and hot enough on both sides. - Q: Can I make the batter ahead?
A: Absolutely! Your batter can rest in the fridge for up to 24 hours. Resting helps improve the texture, but don’t go past that because your rising agents will lose strength. - Q: How do I keep waffles crisp when serving a crowd?
A: After cooking, put waffles in a single layer on a wire rack inside a warm oven set to about 200°F (95°C). This keeps them warm and crisp without steaming. - Q: Can I make these gluten-free or dairy-free?
A: Yes! Substitute the all-purpose flour with a gluten-free blend 1:1 and use non-dairy milk plus oil instead of butter to make them vegan or dairy-free-friendly.

A quick and easy recipe for golden, crispy homemade waffles with a tender inside, made from pantry staples and ready in about 20 minutes.
- Total Time: 20 minutes
- Yield: 6-8 waffles 1x
Ingredients
- 2 cups all-purpose flour
- 2 tablespoons granulated sugar
- 1 tablespoon baking powder
- ½ teaspoon salt
- 2 large eggs
- 1¾ cups milk
- ½ cup melted butter or vegetable oil
- 1 teaspoon vanilla extract
Instructions
- Preheat the waffle maker fully following the manufacturer’s instructions.
- Whisk together all-purpose flour, granulated sugar, baking powder, and salt in a large bowl until evenly mixed.
- Beat the eggs in a separate bowl until smooth.
- Stir milk, melted butter (or oil), and vanilla into the beaten eggs until combined.
- Pour the wet ingredients into the dry and gently stir until just combined; small lumps are fine—do not overmix.
- Let the batter rest 5–10 minutes.
- Lightly grease the waffle iron plates with nonstick spray or melted butter, re-greasing before each batch if needed.
- Pour the recommended amount of batter into the center of the preheated waffle iron so it spreads evenly.
- Close the lid and cook until the waffle is a rich golden brown and the edges are crisp, avoiding opening early.
- Carefully remove the waffle and transfer it to a wire rack to keep the bottom crisp.
- Repeat greasing and cooking with the remaining batter until all waffles are cooked.
Notes
Keep mixing gentle to avoid dense waffles; small lumps in the batter are normal and help keep waffles light., Letting the batter rest for 5–10 minutes improves texture and fluffiness., Cook waffles a little longer or on a darker setting for crisp edges; reduce cooking time for softer waffles if desired., Cool waffles on a wire rack to prevent sogginess from steam., To keep waffles warm and crisp while cooking more, place them in a single layer on a wire rack inside a low oven (~200°F or 95°C)., Add-ins like chocolate chips, berries, pumpkin, cheese, or bacon can be folded gently into the batter, about ½ cup per batch., If waffles stick to the iron, ensure it’s properly heated and add a fresh coat of oil or nonstick spray before each batch., Batter can be stored in the fridge for up to 24 hours; cooked waffles freeze well for up to two months., Reheat frozen waffles in a toaster, air fryer (350°F for 3–5 minutes), or oven (350°F for 8–10 minutes).
- Prep Time: 10 minutes
- Cook Time: 10 minutes
- Category: Breakfast
- Cuisine: American
Nutrition
- Serving Size: 1 waffle
- Calories: Approximately 220 calories per waffle (varies with add-ins and toppings)
- Fat: 10 g per serving
- Carbohydrates: 27 g per serving
- Protein: 6 g per serving