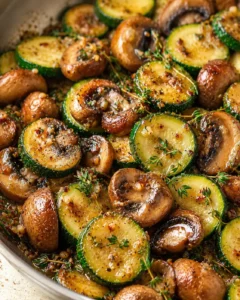
Crispy oven fried squash recipe for a healthy, crunchy snack

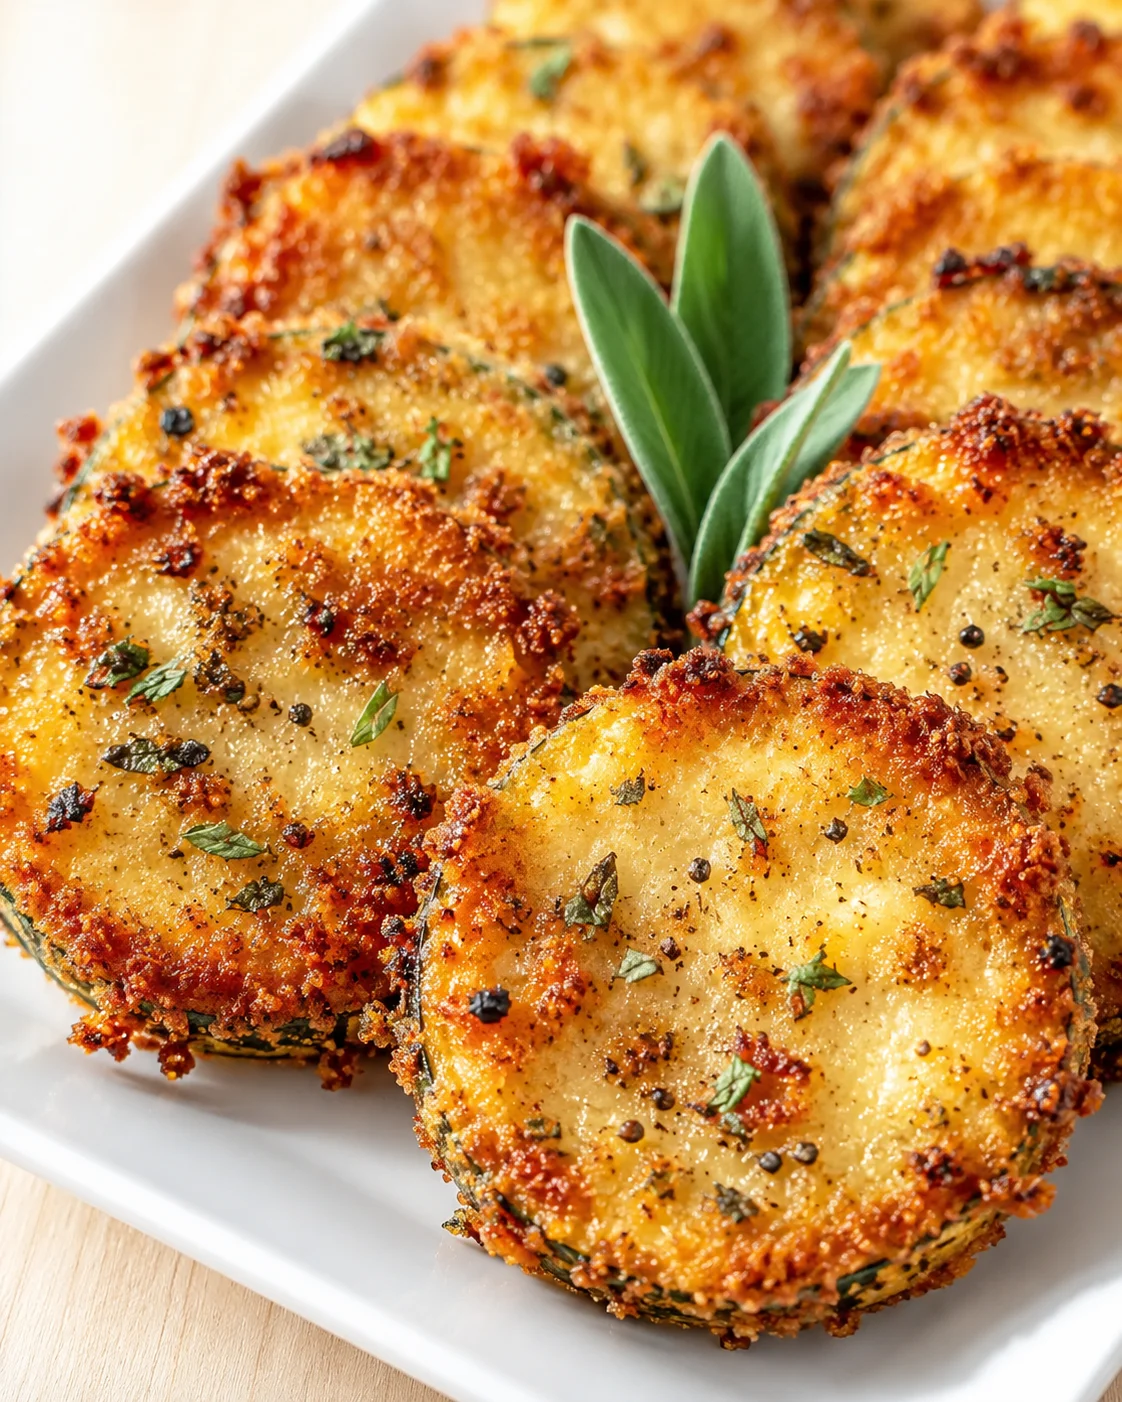
Crispy Oven Fried Squash Recipe Easy Perfect Healthy Snack
The first time I whipped up crispy oven fried squash, it was a total lifesaver on a hectic weeknight. I had snagged a big bunch of summer squash at the farmer’s market and was staring at it wondering how to make it exciting beyond the usual steamed or sautéed versions. Then I thought, why not try oven-frying? It gives that golden, crunchy goodness without the mess or guilt of deep frying. The result blew me away—crispy, bursting with flavor, and exactly the kind of snack that feels indulgent but still fits into a healthy eating plan.
Since that moment, this crispy oven fried squash recipe has been my go-to anytime I want something fast, crunchy, and utterly satisfying. It’s a smart way to enjoy fresh squash with just a touch of oil and zero fuss. Plus, it’s a real crowd-pleaser with kids—my nephew actually asked for seconds one night, and that felt like a big win!
What really makes me love this recipe is how it turns simple squash into a snack or side that tastes like it belongs at a cozy pub but is way better for you. Whether you’re feeding kids, setting out an easy appetizer, or craving a crunchy bite to nibble on, this crispy oven fried squash delivers. It’s straightforward, wholesome, and honestly, a little addictive once you nail that perfect crispy crust on each piece.
I’ve played around with the recipe over time—tweaking coatings, adjusting seasonings, and testing out what works best for crunch and flavor. After trying lots of oven-fried veggie recipes, this one shines: it’s never greasy or soggy, just perfectly crispy and loaded with taste. It’s ideal for anyone wanting a healthier alternative to traditional fried snacks without skimping on texture or yumminess.
If you want a snack or side that’s crispy, flavorful, and kind to your waistline, this crispy oven fried squash is absolutely worth making. What’s great is it takes everyday squash from dull to delicious, using just a few simple ingredients and minimal effort. The crunchy coating, the savory seasoning, and that hint of cheesy parmesan really hit all the right notes.
Feel free to customize this to fit your flavor mood by swapping seasonings or trying different breadcrumb mixes. Cooking should always be flexible and fun, after all. I hope you and your family enjoy this recipe as much as we do—it’s one of those dishes that’s easy to keep coming back to because it’s so tasty and fuss-free.
Don’t forget to tell me how your crispy oven fried squash turns out! I’d love to hear about your takes or any kitchen tips you discover along the way.
Happy cooking and crunching!
FAQs About Crispy Oven Fried Squash
Can I use other types of squash for this recipe?
Definitely! While summer squash like zucchini or yellow squash work best for quick baking and crispiness, you can also try butternut or delicata squash thinly sliced. Just keep in mind these take a bit longer to cook and crisp up.
How do I keep the squash from getting soggy?
Drying off the slices before breading and making sure you don’t crowd the pan are super important. Flipping the squash halfway through baking helps both sides get nice and crispy too.
Is this recipe suitable for a gluten-free diet?
Yes! Just swap the all-purpose flour and panko breadcrumbs for gluten-free alternatives, and you’re all set to enjoy.
Can I make this recipe ahead of time?
Absolutely! You can prep and bread the squash a few hours before baking and keep it chilled. Bake it just before serving to keep that crunch.
What dipping sauces pair well with crispy oven fried squash?
Great options include garlic aioli, ranch dressing, spicy sriracha mayo, or a simple lemon yogurt sauce—they all complement the squash perfectly.
Notes
Dry your squash slices well to remove any moisture that could prevent crispiness. Avoid packing the baking sheet tight because crowding causes soggy pieces. Flip the slices halfway through baking for a perfect golden crust on both sides. For gluten-free, use gluten-free flour and breadcrumbs. For dairy-free, skip the parmesan or swap with nutritional yeast. Reheat leftovers in the oven, not the microwave, to keep that crunch.
- Prep Time: 10 minutes
- Cook Time: 20-25 minutes
- Category: Snack
- Cuisine: American
Nutrition
- Serving Size: About 6-8 slices per serving
- Calories: 150-180
- Sugar: 3-4 g
- Sodium: 250-350 mg
- Fat: 7-9 g
- Saturated Fat: 2-3 g
- Carbohydrates: 18-22 g
- Fiber: 2-3 g
- Protein: 6-8 g
Keywords: crispy oven fried squash, healthy snack, oven fried zucchini, panko squash, summer squash recipe, gluten-free squash snack, vegetarian snack
If diving into oven-frying veggies for the first time or just hunting for a quick, healthy crunchy snack, this crispy oven fried squash recipe is a fantastic place to jump in. In about 30 minutes with just a few pantry staples and fresh squash, you’ll turn simple rounds into irresistible golden bites that mimic fried snacks without the greasy mess.
This introduction covers why this oven-fry technique works so well: the high heat combined with a light brush of oil creates that crave-worthy crunch. The coating is a winning combo of panko breadcrumbs and parmesan cheese for an unbeatable savory crunch. Plus, the recipe is flexible—you can swap ingredients to suit gluten-free or dairy-free diets without losing that great texture. The trick is a hot oven (425°F / 220°C), keeping slices dry, dredging in flour, egg, and crumbs, and flipping halfway to ensure even cooking.
Below, you’ll find everything you need: a simple ingredient list, clear step-by-step instructions, pro tips for crispiness, plus notes on serving, storing, reheating, and even some fun variations. Whether you want a family-friendly snack, party appetizer, or light side dish, this recipe is forgiving, easy, and designed to shine with fresh squash.
- Total time: Around 30 minutes (10 for prep, 20–25 for baking)
- Why it works: Panko + parmesan + hot oven = delicious crunch without frying.
- Includes: Ingredients, instructions, handy tips, variations, and FAQs to solve common questions.
Quick, Flavorful Reasons to Try It
- Quick & Easy: From start to finish in about 30 minutes—great for those busy days when you want something tasty without stress.
- Simple Ingredients: Just everyday pantry basics plus fresh squash; no fancy or hard-to-find items needed.
- Perfect for Snacking & Side Dishes: Ideal alongside casual dinners, game-time munchies, or just for a crunchy nibble anytime.
- Family-Friendly: Kids love the crispy texture and flavor, making it an easy way to sneak in more veggies.
- Super Crispy: Thanks to oven-frying and a light breading, these squash slices come out perfectly golden without being greasy.
- Healthy Choice: No deep-frying here! Just a little oil brushed on to keep things light and wholesome—or try this crispy air fryer yellow squash recipe if you prefer the air fryer.
The magic of this recipe really comes down to the coating—I use a blend of panko breadcrumbs and parmesan cheese, which adds a lovely nutty crunch you’ll want more of. If you enjoy that combo, you might also like this easy crispy baked Parmesan zucchini for another light, crunchy side. I’ve learned seasoning the squash slices well before baking really brings out their natural sweetness and balances perfectly with that crispy crust. Honestly, it’s one of those dishes that tastes indulgent but feels light and clean when you eat it.
I’ve shared this dish at family dinners and casual parties, and it never lasts long. It’s the kind of food that makes you savor the first crispy bite, bringing cozy comfort food vibes in a fresh, lighter way. If you’ve ever wanted a crunchy fried snack without guilt, this crispy oven fried squash is calling your name.
Simple Pantry-Friendly Ingredients
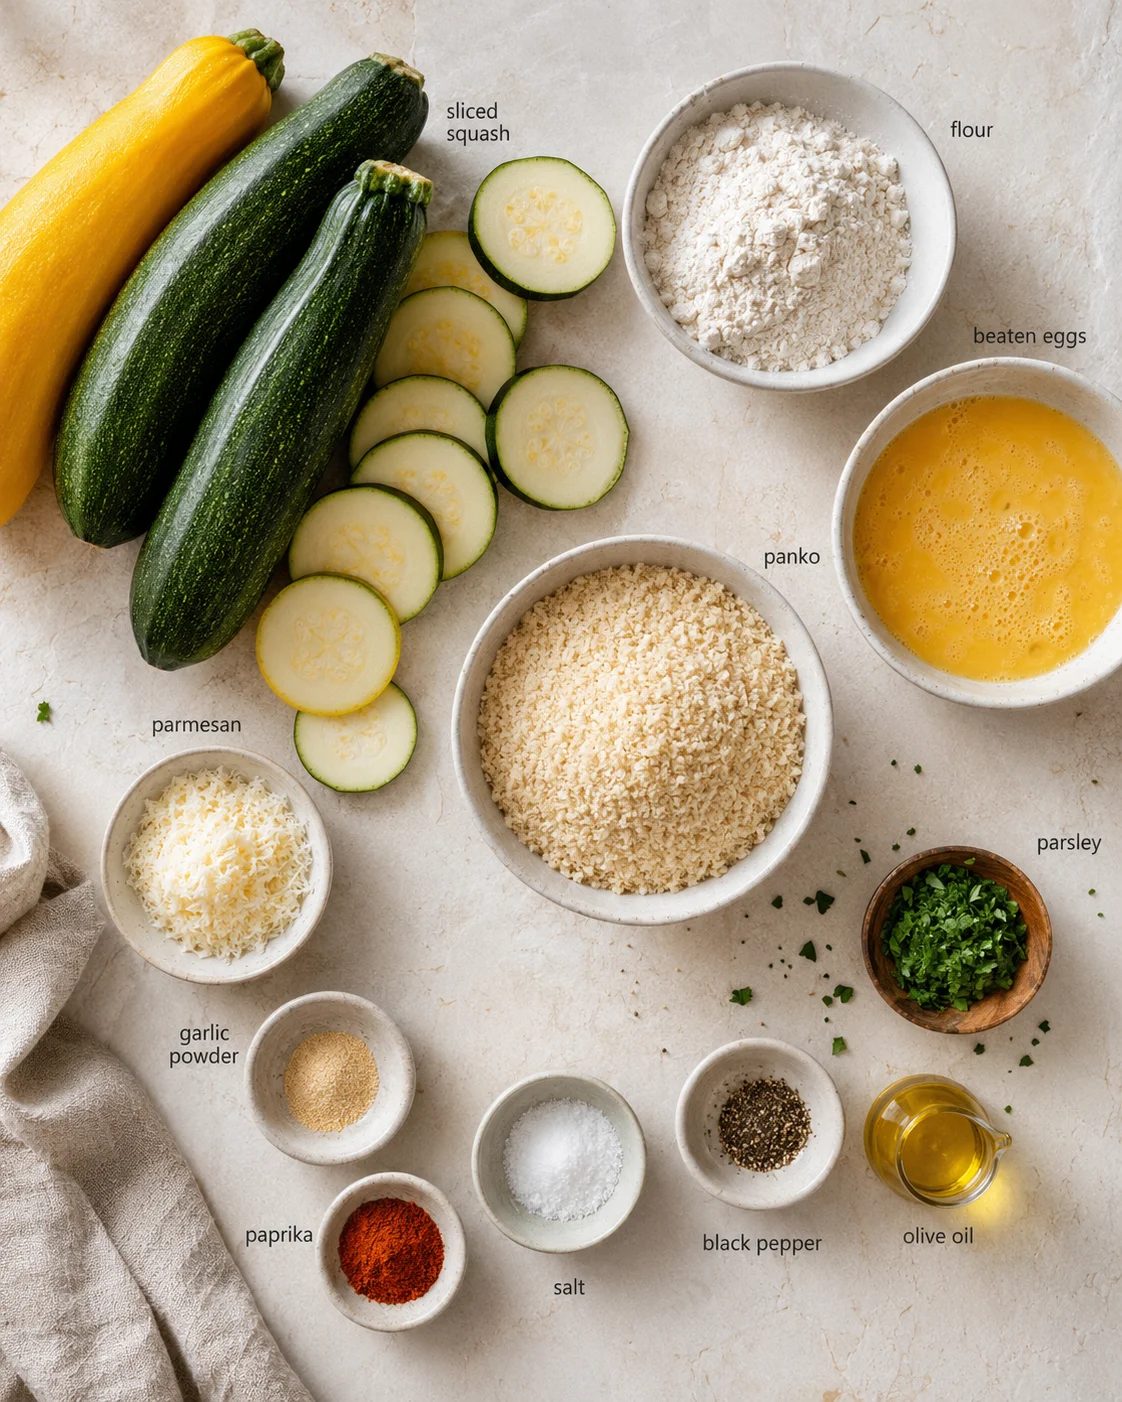
- 3 medium zucchinis or yellow squash, sliced into ¼-inch thick rounds
- ½ cup all-purpose flour (60 g)
- 2 large eggs, beaten
- 1 cup panko breadcrumbs (about 100 g)
- ¼ cup grated parmesan cheese
- 1 teaspoon garlic powder
- 1 teaspoon paprika
- Salt and freshly ground black pepper, to taste
- 2 tablespoons olive oil or avocado oil
- 1 tablespoon fresh parsley, chopped (optional)
Oven-Frying Step-by-Step
- Preheat oven to 425°F (220°C) and line a rimmed baking sheet with parchment or a silicone mat.
- Wash squash, pat dry, and slice into even ¼-inch (6 mm) rounds.
- Set up three shallow bowls: flour; beaten eggs; and panko mixed with grated parmesan, garlic powder, paprika, salt, and pepper.
- Lightly dust each squash slice with flour, shaking off excess.
- Dip floured slice into beaten eggs, letting excess drip off.
- Press slice into the breadcrumb mixture, coating both sides evenly.
- Arrange coated slices in a single layer on the prepared baking sheet without crowding or overlapping.
-
Brush or drizzle tops lightly with olive oil or avocado oil (about 1–2 tablespoons total).
- Bake 20–25 minutes at 425°F (220°C), flipping carefully halfway through at about 12 minutes, until golden and crisp.
- Remove from oven and let slices cool briefly so the coating sets.
- Sprinkle with chopped parsley if desired and serve warm.
Pro Tips for Crispy Results
Nailing that perfect crispy oven fried squash is easy once you know a few tricks. Here are my tried-and-true tips:
- Pat your squash slices dry. Water ruins crunch. Use paper towels to soak up moisture right after slicing—the same moisture-removal step used in Crispy and Easy Zucchini Fritters to keep veggies crisp.
- Don’t skip the flour. It’s a vital base coat that helps the egg and breadcrumbs cling tightly. Skip it and crumbs will fall off while baking.
- Choose panko breadcrumbs. They’re lighter and airier than regular crumbs, making for crispier bites.
- Brush on oil lightly. A thin layer of oil crisps the coating without making the slices greasy.
- Flip halfway through baking. This step is essential to brown both sides evenly and prevent soggy bottoms.
- Keep the oven at 425°F (220°C). Too low and you get dry but not crispy squash; too high and they burn before cooking through.
- Try baking on a wire rack placed over the baking sheet. It lets air flow under the slices for even better crisping all around.
One time, I skipped flipping and ended up with soggy bottoms—lesson learned fast! Also, adding parmesan to the breadcrumb mix is a game changer for flavor and browning; see the parmesan-panko coating technique in Crispy Baked Eggplant Parmesan. When I started making this recipe, I worried about watery squash after cooking, but with careful drying and a hot oven, it’s no problem at all.
Pro tip: While these bake, you can prepare a quick dipping sauce or set the table—great for multitasking in a busy kitchen.
Flavor Twists and Ingredient Swaps
Feel free to personalize your oven fried squash to suit your taste buds. Here are some ideas to try or inspire you: Different squash varieties work too—try this easy patty pan squash recipe when it’s in season.
- Spicy Twist: Mix cayenne pepper or chili powder into the breadcrumbs for a little heat. Pair it with cool ranch dip for contrast.
- Gluten-Free Swap: Use almond flour or a gluten-free blend instead of all-purpose flour, and gluten-free panko crumbs.
- Herbed Up: Stir in fresh or dried herbs like thyme, oregano, or rosemary to the crumb mix. Fresh basil works wonderfully too for a summery vibe. If you prefer a stovetop take with similar flavors, try this Garlic Parmesan zucchini and squash skillet side dish.
- Cheesy Varieties: Swap parmesan for sharp cheddar or asiago cheese for a different taste.
- Air Fryer Shortcut: Cook coated slices in an air fryer at 400°F (200°C) for 10-12 minutes, flipping halfway for a quick crunchy snack.
I once tried smoked paprika with cumin for a southwestern twist, served alongside fresh tomato salsa—it was delicious and unique. Don’t hesitate to experiment with whatever you have on hand to make this recipe your own.
Storage and Reheating Tips
For the best experience, serve crispy oven fried squash warm right out of the oven when the coating is at peak crunch. These slices shine with dipping sauces like garlic aioli, spicy mayo, or a bright lemon yogurt dip. They’re lovely alongside grilled chicken or classic oven-baked chicken thighs, a crisp salad, or even on a casual charcuterie board.
If serving for guests, arrange on a platter with a sprinkle of fresh parsley or extra parmesan for a pretty, appetizing presentation. They also make a crowd-pleasing side dish for barbecues or casual family dinners. Try pairing them with easy oven-roasted asparagus.
To keep leftovers, store squash in an airtight container in the refrigerator for up to 2 days. When you’re ready to eat them again, pop them into a 375°F (190°C) oven for 5-8 minutes to crisp back up. Avoid the microwave if you want that crunchy coating to last—it tends to make them soft.
Letting leftovers chill actually deepens the flavor, so if you don’t mind a slight loss of crispness, they still taste yummy the next day. For longer storage, freeze baked slices on a baking tray first. Once frozen solid, transfer to a freezer bag. Reheat from frozen in the oven to retain the best texture.
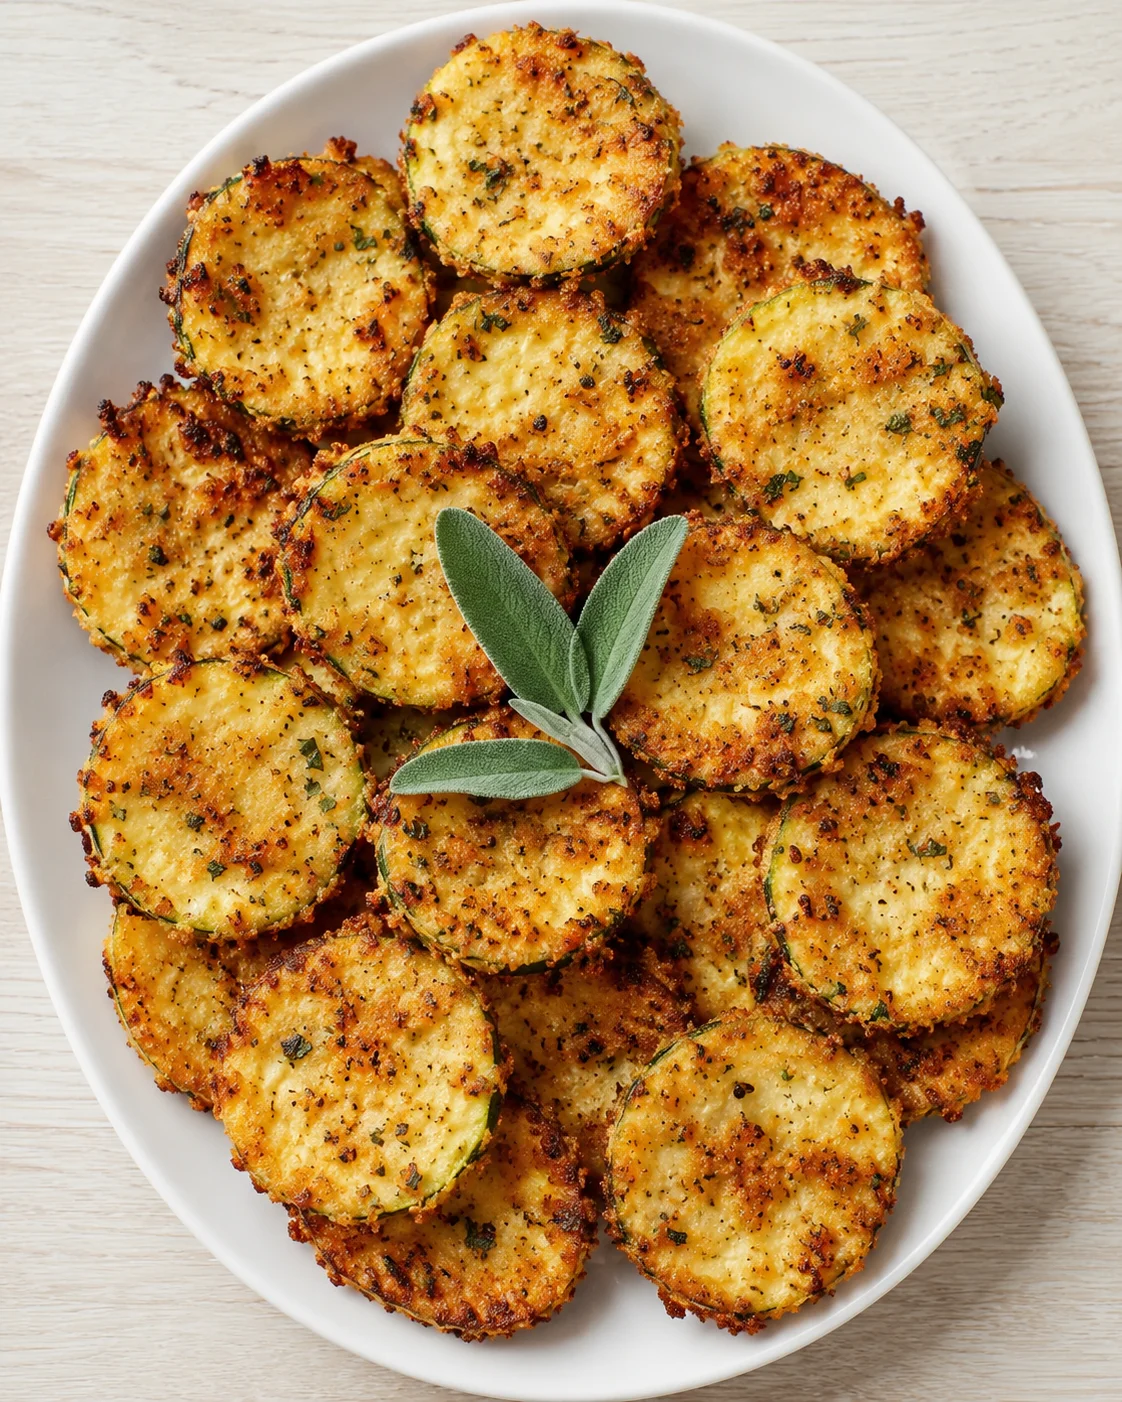
Common Questions Answered
-
Can I use other types of squash for this recipe?
Yes! Summer squash varieties like zucchini or yellow squash are easiest for quick oven-frying and getting crispy. If you prefer a simple roasted take, try garlic parmesan roasted zucchini for a similar quick, crispy result. Denser winter squashes like butternut or delicata can work too but slice very thin and expect a longer baking time to cook through and crisp up.
-
How do I keep the squash from getting soggy?
Make sure you pat the slices dry to remove all surface moisture. Don’t let the slices crowd the baking sheet, flip them halfway through baking, and bake at a hot temperature of 425°F (220°C). Using a wire rack helps air circulate under the slices for extra crisp.
-
Is this recipe suitable for gluten-free or dairy-free diets?
Absolutely! Use gluten-free flour and panko for gluten-free, and substitute parmesan with nutritional yeast or omit for dairy-free options.
-
Can I make the squash ahead of time?
You can prep and bread the slices in advance and keep them in the fridge until baking. Bake just before serving for the crispiest results. Leftovers also store well for a couple of days in the fridge and are delicious with a lighter dip like Healthy Spinach Artichoke Dip.
-
What’s the best way to reheat leftovers?
Reheat in a preheated oven at 375°F (190°C) for 5-8 minutes to bring back crispness. Avoid microwaving, which makes them soggy.
-
Can I use an air fryer?
Yes! Air fry at 400°F (200°C) for 10-12 minutes, flipping halfway. Watch carefully since air fryer models vary.
-
How much oil should I use?
A light brush or drizzle of about 1-2 tablespoons total is plenty. Too much oil can make the slices greasy and soggy.
-
Can I freeze these for longer storage?
Yes, freeze baked slices individually on a tray, then pack them in a freezer bag. Reheat from frozen in the oven for best texture, though the coating may soften slightly.
-
What are typical nutrition figures per serving?
A serving of about 6-8 slices contains approximately 150-180 calories, 6-8 g protein, 7-9 g fat, and 18-22 g carbohydrates, depending on exact ingredients and portion size.
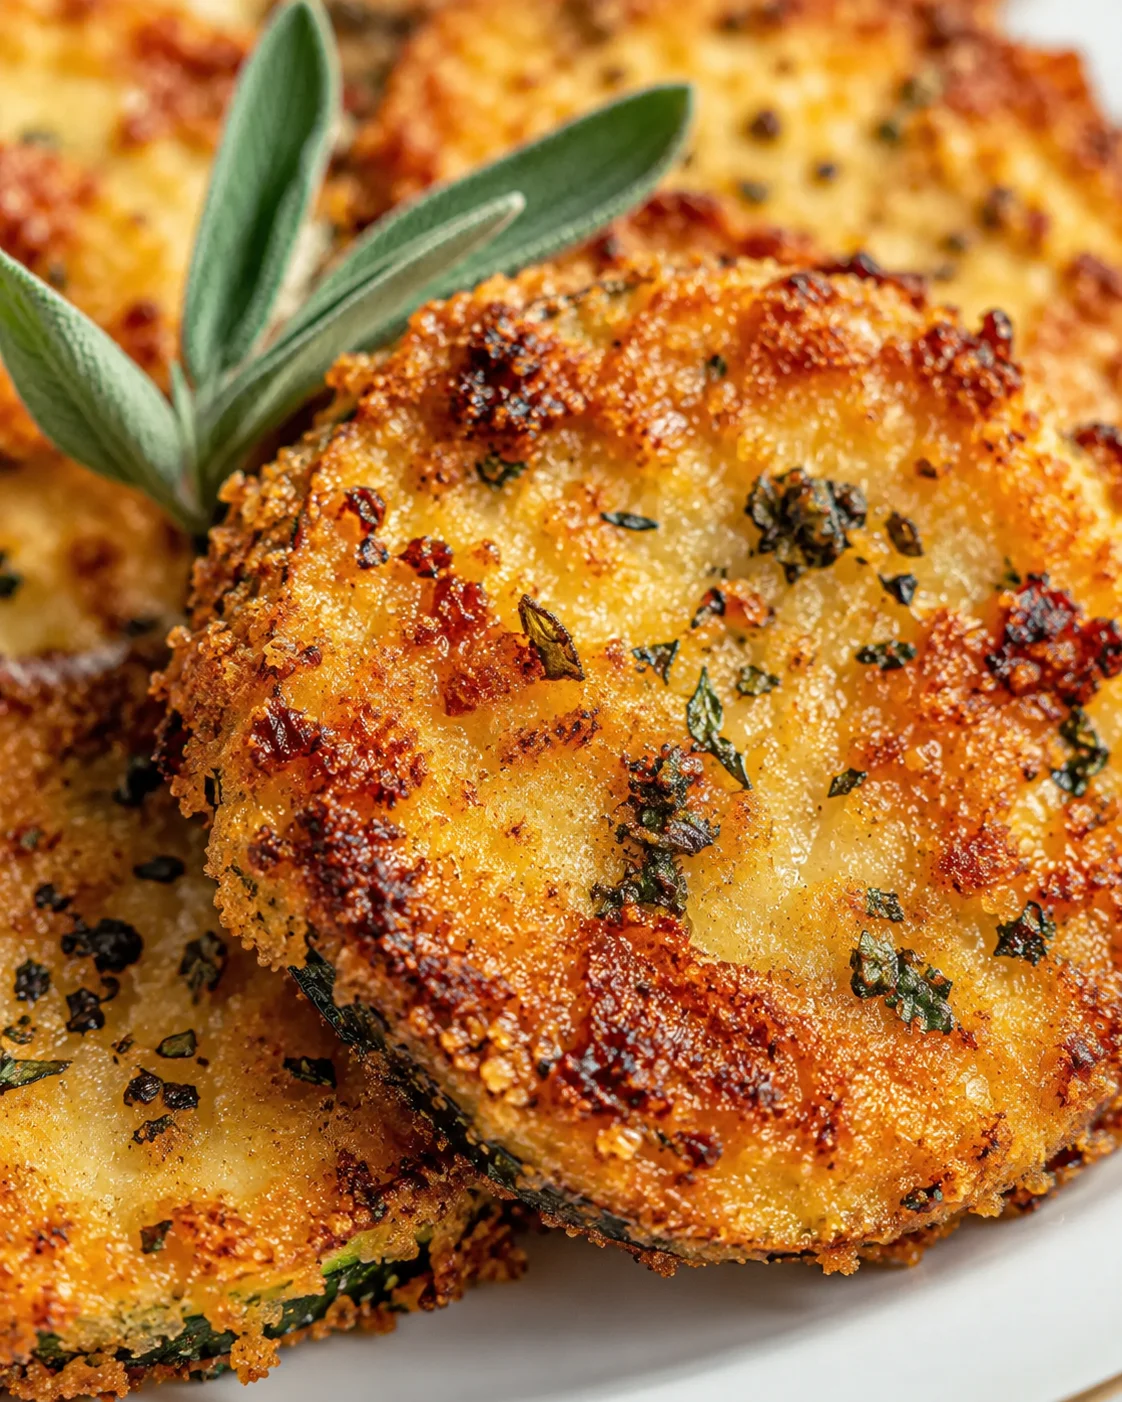
A quick, wholesome snack featuring tender summer squash coated in panko breadcrumbs and parmesan, baked until golden and crispy. Perfect as a guilt-free snack or a flavorful side with minimal oil and fuss.
- Total Time: 30-35 minutes
- Yield: About 4 servings 1x
Ingredients
- 3 medium zucchinis or yellow squash, sliced into ¼-inch thick rounds
- ½ cup all-purpose flour (60 g)
- 2 large eggs, beaten
- 1 cup panko breadcrumbs (about 100 g)
- ¼ cup grated parmesan cheese
- 1 teaspoon garlic powder
- 1 teaspoon paprika
- Salt and freshly ground black pepper, to taste
- 2 tablespoons olive oil or avocado oil
- 1 tablespoon fresh parsley, chopped (optional)
Instructions
- Preheat oven to 425°F (220°C) and line a rimmed baking sheet with parchment or a silicone mat.
- Wash squash, pat dry, and slice into even ¼-inch (6 mm) rounds.
- Set up three shallow bowls: flour; beaten eggs; and panko mixed with grated parmesan, garlic powder, paprika, salt, and pepper.
- Lightly dust each squash slice with flour, shaking off excess.
- Dip floured slice into beaten eggs, letting excess drip off.
- Press slice into the breadcrumb mixture, coating both sides evenly.
- Arrange coated slices in a single layer on the prepared baking sheet without crowding or overlapping.
- Brush or drizzle tops lightly with olive oil or avocado oil (about 1–2 tablespoons total).
- Bake 20–25 minutes at 425°F (220°C), flipping carefully halfway through at about 12 minutes, until golden and crisp.
- Remove from oven and let slices cool briefly so the coating sets.
- Sprinkle with chopped parsley if desired and serve warm.
Notes
Dry your squash slices well to remove any moisture that could prevent crispiness., Avoid packing the baking sheet tight because crowding causes soggy pieces., Flip the slices halfway through baking for a perfect golden crust on both sides., For gluten-free, use gluten-free flour and breadcrumbs., For dairy-free, skip the parmesan or swap with nutritional yeast., Reheat leftovers in the oven, not the microwave, to keep that crunch.
- Prep Time: 10 minutes
- Cook Time: 20-25 minutes
- Category: Snack
- Cuisine: American
Nutrition
- Serving Size: About 6-8 slices per serving
- Calories: 150-180 per serving
- Fat: 7-9 g per serving
- Carbohydrates: 18-22 g per serving
- Protein: 6-8 g per serving