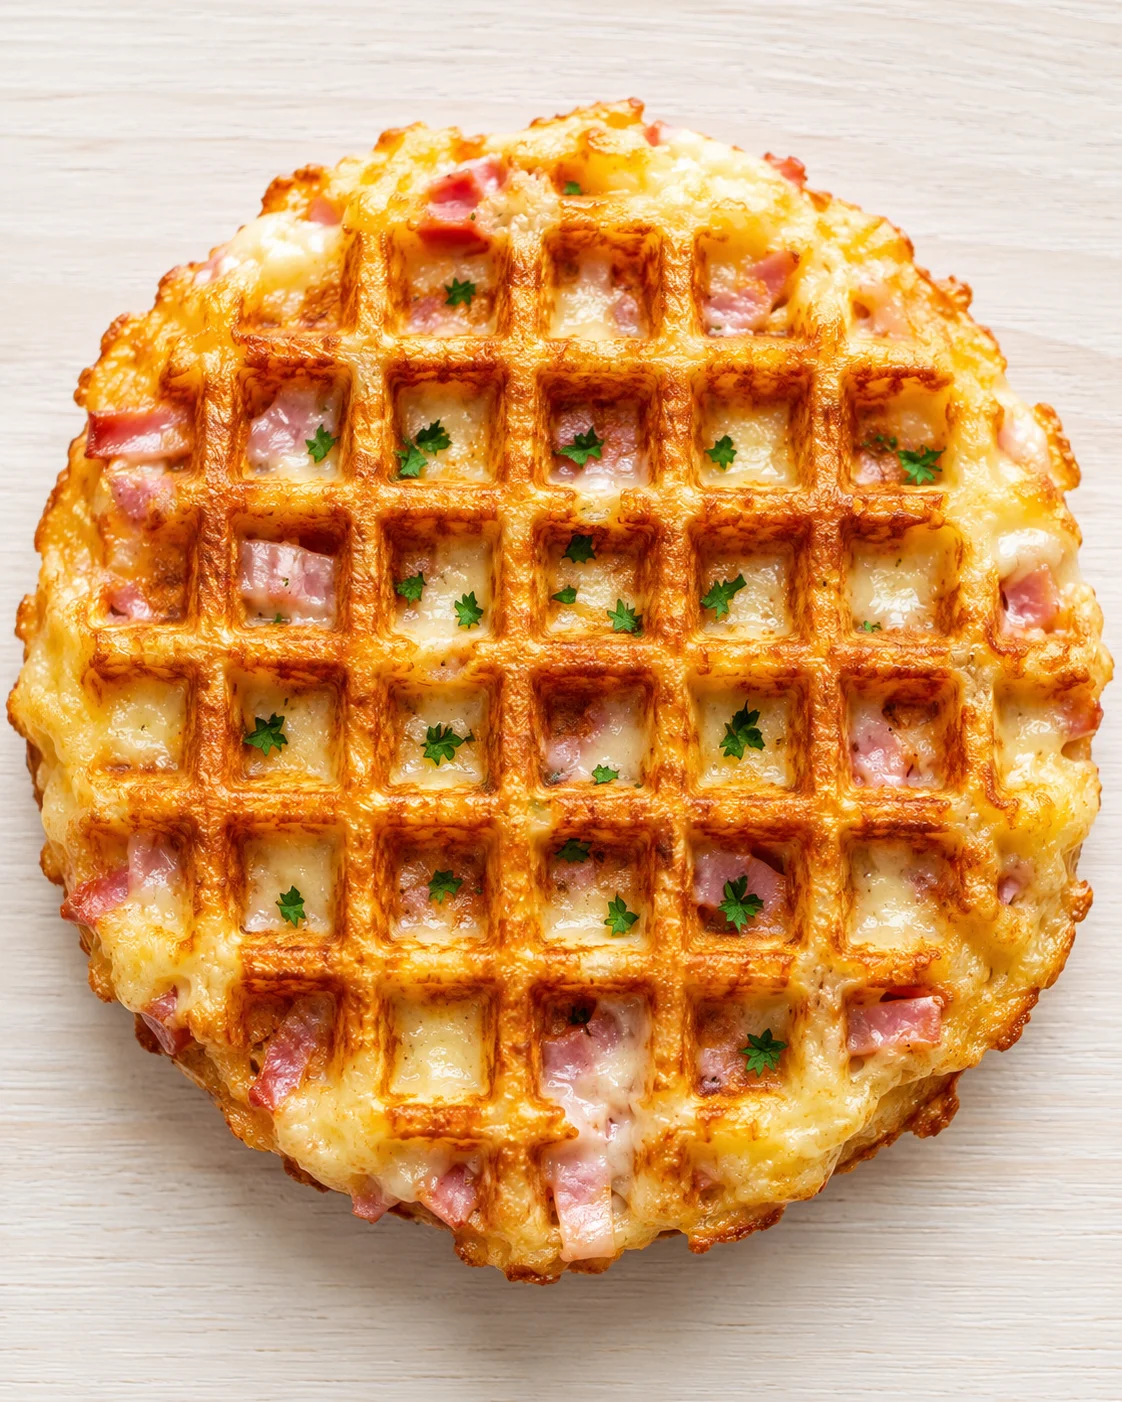
Best Crunchy Ham Cheese Chaffles Ever
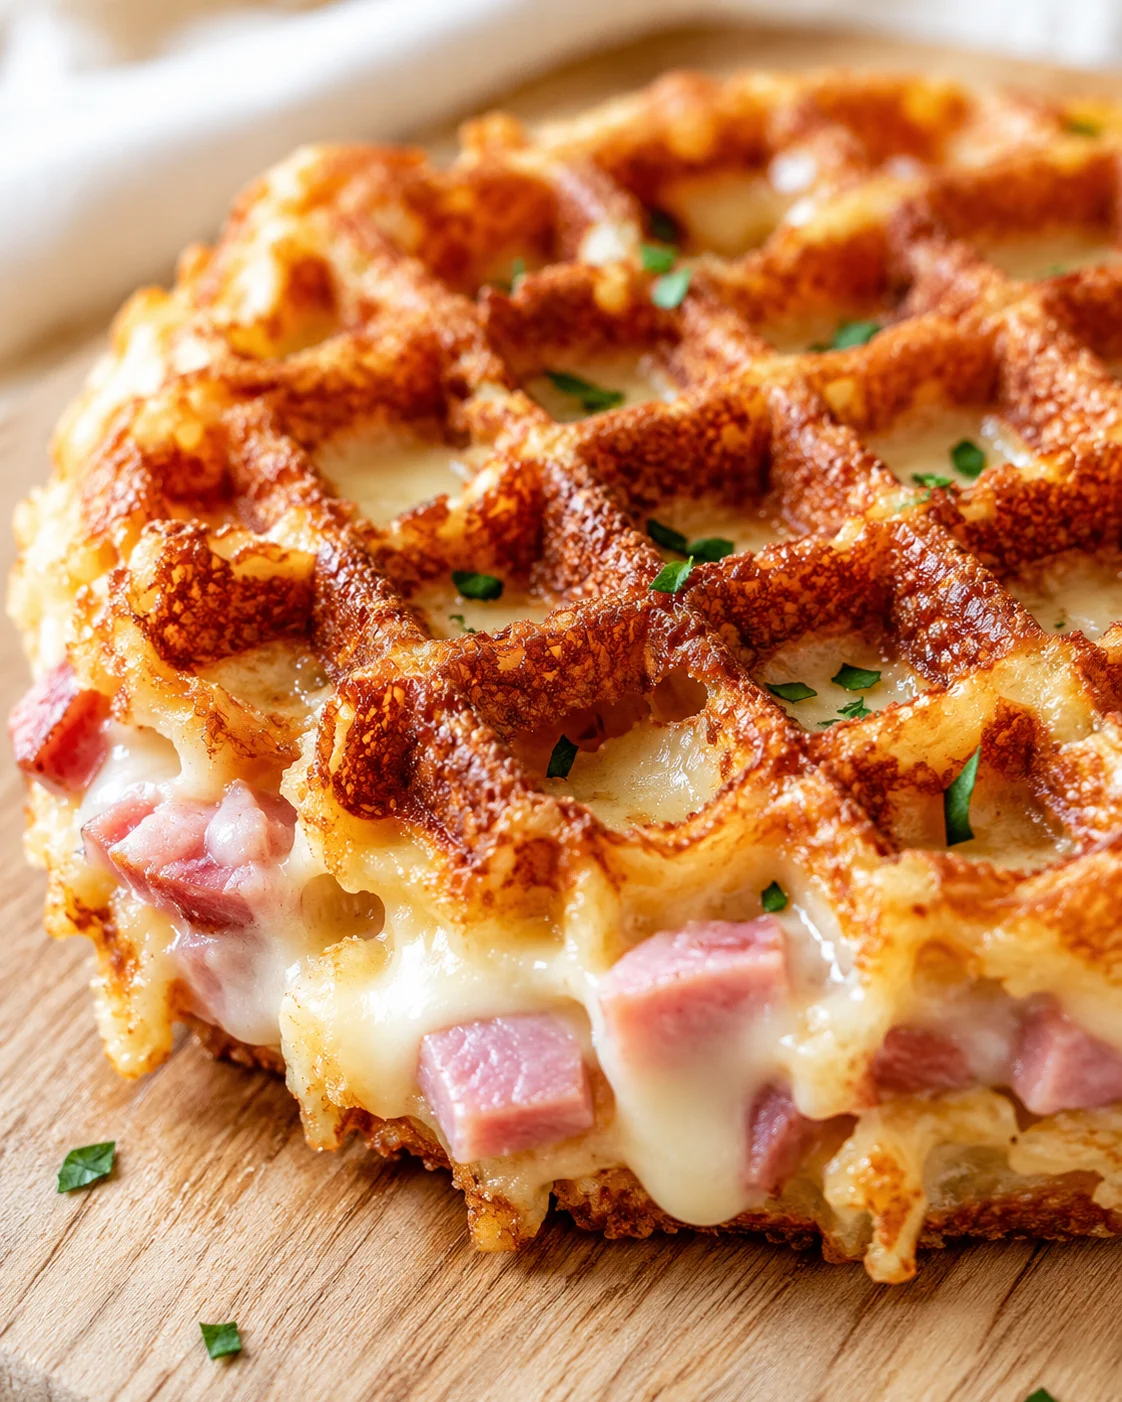
These ham and cheese chaffles bring together eggs, ham, and melty cheese in a crispy, golden shell that’s just as tasty for breakfast as it is for any meal of the day.
Print Recipe
These crunchy ham and cheese chaffles pack a punch of flavor with barely any effort. In just about 14 minutes, you’ll have crispy, golden edges surrounding a gooey, cheesy inside made with just a few simple ingredients—sharp cheddar, eggs, and diced ham. They’re naturally low-carb and gluten-free, super easy to customize by swapping cheeses or adding fresh herbs, and perfect anytime—whether it’s breakfast, lunch, a snack, or a quick sandwich base. Plus, they freeze and reheat like a dream, making them a lifesaver for busy weeknights or prepping ahead for brunches.
- Quick and easy: 10 minutes prep, around 4 minutes cooking.
- Perfect texture: crunchy on the outside, tender and cheesy inside.
- Simple pantry staples you probably already own.
- Flexible: enjoy plain, with your favorite toppings, or stack as a sandwich.
- Low-carb and naturally gluten-free for a guilt-free indulgence.
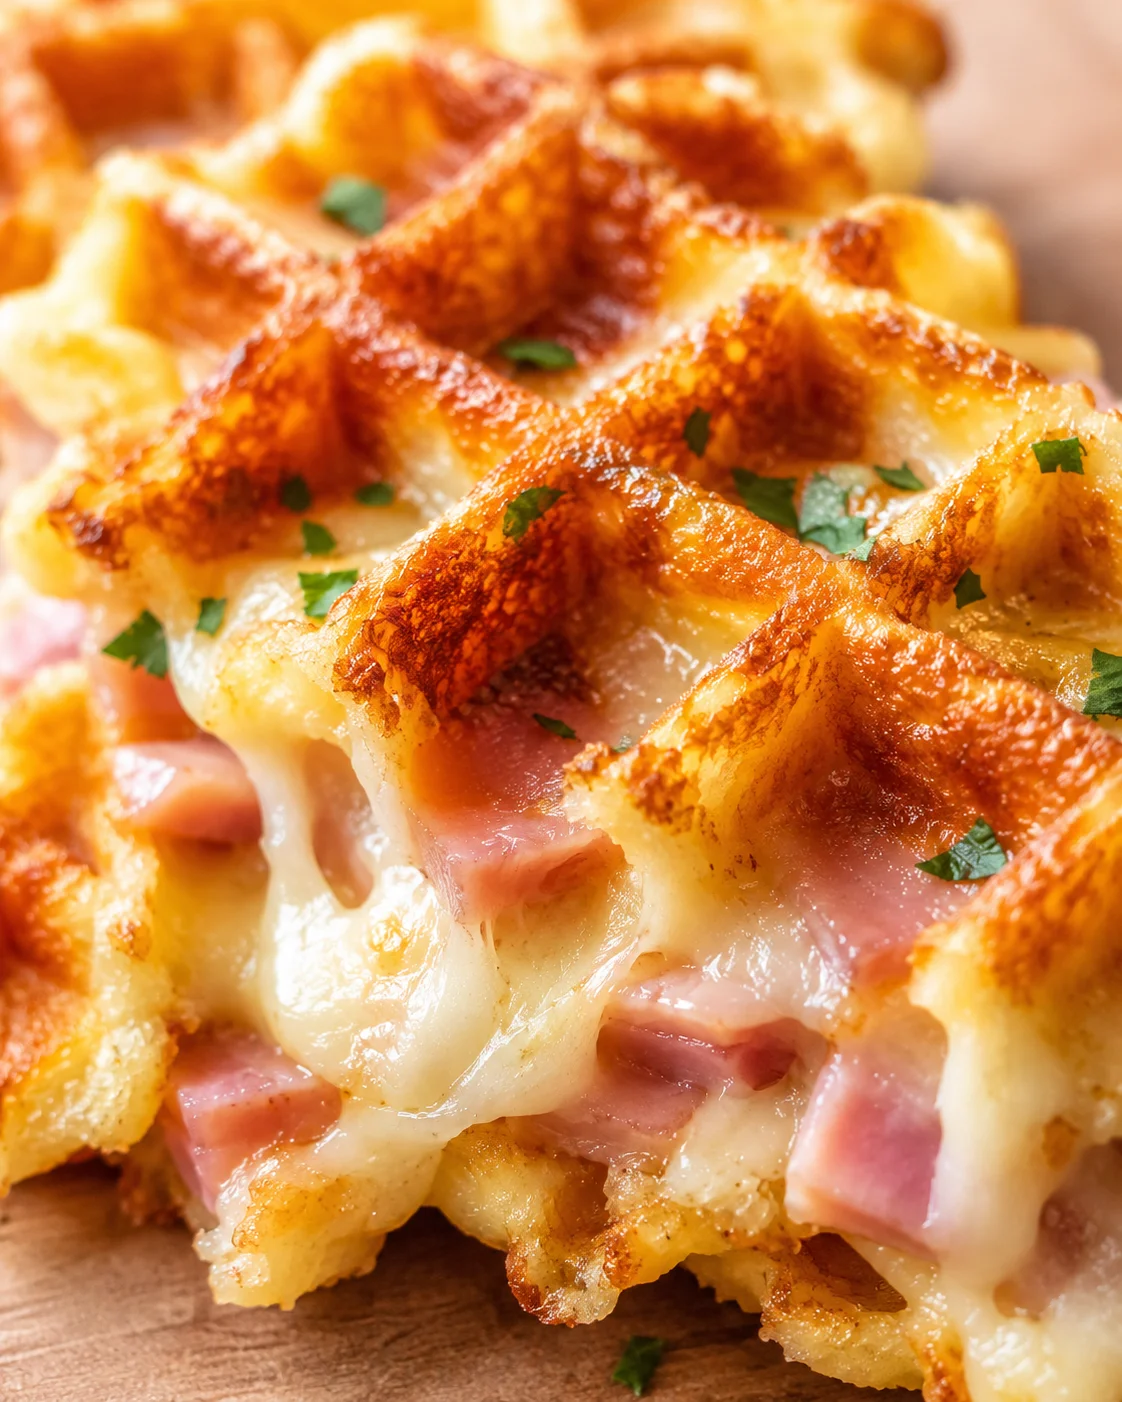
These chaffles are a delightful mix of cheese, eggs, and ham that create a crispy exterior with a cheesy inside, perfect for any meal.
Print Recipe
Why They’ll Be Your Go‑To
These crunchy ham and cheese chaffles are exactly the kind of recipe I reach for when I want something tasty, fuss-free, and dependable. They deliver big, savory flavor with just a handful of ingredients, create that wonderful crunch everyone loves, and come together fast. Whether you need a quick breakfast, an easy lunch, or a snack to keep on hand, they’ve got you covered. For a cozy sit‑down lunch, serve them alongside high-protein broccoli cheddar soup.
- Speed: Ready in about 14 minutes total—which breaks down to 10 minutes prep and roughly 4 minutes cooking—making them perfect for rushed mornings or impromptu meals.
- Minimal ingredients: Just cheddar, eggs, and diced ham. They’re easy to swap out if you want and super accessible.
- Awesome texture: Crispy, delicate edges paired with a melty, soft middle—the kind of contrast that keeps you coming back for more.
- Diet-friendly: Naturally low-carb and gluten-free since there’s no flour or fillers.
- So versatile: Eat ’em plain, top with a fried egg for brunch, make a sandwich, or pair with pickles and mustard—or a creamy dill pickle dip—for a savory bite.
- Customizable: Switch up the cheese with Swiss, Gruyère, or Monterey Jack, toss in fresh herbs, or add a splash of mustard to change up the flavor without changing your process.
- Prep ahead with ease: These freeze and reheat beautifully. Refrigerated chaffles get crispy again in about 5–8 minutes in a toaster oven; frozen ones take around 8–12 minutes. Make a batch, freeze, and you’re set for the week.
- Kid and crowd friendly: Familiar, simple flavors and that crispy crunch have made these a hit with everyone in my family—and yes, I’ve even gotten a thank-you note from my kid’s lunchbox! For parties, ham and cheese puff pastry is another proven crowd-pleaser.
If you want an easy, comforting, adaptable recipe that feels special but doesn’t take all day, ham and cheese chaffles won’t disappoint. They’re a fast, tasty kitchen win you’ll come back to again and again. Need another portable savory option? Try sourdough discard breakfast pockets.
Ingredients and Quantities
- 1 cup Cheddar Cheese, freshly grated from the larger holes
- 2 large Eggs, whisked well
- 1 cup Ham, diced into small pieces
- 1 pinch Salt
- 1 pinch Black Pepper
How to Make Crispy Chaffles
- Preheat your waffle iron until it’s hot and ready to go.
- Grate 1 cup sharp cheddar using the larger holes of the grater.
- Dice about 1 cup of ham into small pieces.
- Whisk 2 large eggs until well combined (whisk until slightly frothy for lighter chaffles, optional).
- In a bowl, combine the grated cheddar and whisked eggs, mixing until glossy and smooth.
- If using large or very moist ham pieces, sauté them briefly and drain before adding (optional).
- Gently fold the diced ham into the cheese-and-egg mixture.
- Add a pinch of salt and black pepper to taste, if desired.
- Lightly brush the waffle iron grids with oil or spray with a high-heat nonstick spray if the iron tends to stick.
- Spoon about 1/4 to 1/3 cup of the mixture onto the waffle iron to cover the pattern.
- Close the waffle iron gently (do not press down) and cook for 2 to 4 minutes.
-
When the sizzle quiets and the edges turn a deep golden brown, open the iron and remove the chaffles.
- Transfer finished chaffles to a wire rack to keep them crunchy and prevent sogginess.
- Let chaffles rest about 1 minute to firm up before stacking or serving.
Pro Tips for Best Crunch
The real magic here is keeping it simple and paying attention to timing. Grating the cheddar using the larger holes creates small ribbons that melt into oozy pockets and then crisp to golden edges. I like to combine the cheese and eggs until they look smooth and shiny, then gently fold in the ham. Sometimes I add a pinch of salt and pepper, but if the ham has enough salt I skip it. The main rule: don’t overmix—too much stirring makes the chaffles dense and heavy.
When people ask me about how to make the perfect crunchy ham and cheese chaffles, I tell them to think of a thick custard that’s mostly melted cheese and eggs with bits of ham scattered inside. Make sure your waffle iron is hot before you start—if it sticks, brush the grids with oil. Then spoon just enough batter to fill the shape, usually a quarter or a third cup, close the iron gently, and wait 2 to 4 minutes. You’ll hear the sizzle quiet down, and when you see those beautifully browned edges, they’re ready. I’ll admit, I burned my first batch by opening too soon—you’ve got to hold the patience, but the crisp results are worth it!
Texture really makes these chaffles. Right off the iron, the edges should be thin and crunchy, almost paper-like, while the centers stay soft but stable. Always move finished chaffles to a wire rack instead of a plate—that keeps them crisp by letting steam escape. If you pile them right away or cover them, they get soggy fast. For even crunchier results, wait a full minute before stacking or serving.
Here’s a little trick I picked up from my grandmother: if you want lighter, fluffier chaffles, whisk the eggs just a bit until they get frothy before mixing with the cheese. That adds some air and makes them more waffle-like instead of a cheesy puck. If you love airy, cheesy bites, try Brazilian Cheese Bread for another light-and-crisp option. Also, try a nonstick spray that’s good in high heat instead of butter to avoid burnt, bitter edges. If your ham pieces are big, they weigh down the batter and can make chaffles fall apart; dice those bits small so you get ham in every bite but don’t compromise texture.
Ever had chaffles come out floppy? That usually means the iron wasn’t hot enough or steam trapped them while cooling. If undercooked, close the iron and give them an extra minute. If burnt, lower the temp or lighten the coating of butter/oil. Avoid pre-shredded cheese—it often has anti-caking stuff that stops the cheese from melting and crisping properly. Freshly grate that cheddar for best results.
If you want firmer chaffles, try slightly less egg or a touch more cheese. For bites with bigger ham chunks, sauté the ham to intensify its flavor before folding into your mix. I love flexing these chaffles for different meals: with tomato and mustard like a daylight sandwich, topped with a sunny side up egg for brunch, or with pickles and grainy mustard for a savory snack. Or serve them alongside a crunchy cucumber salad with bacon for extra contrast.
Mix‑Ins and Flavor Swaps
Over time, I’ve played with this trusty recipe to keep things fresh. One go-to is mixing in a teaspoon of Dijon mustard to the eggs for a zingy twist. Another favorite is stirring in fresh herbs like chives and parsley to brighten the flavor. Switching cheddar for Swiss or Gruyère turns them into indulgent melts perfect for lunch. And if you want to get fancy and bake, a ham-and-cheese puff pastry stack is a nice upgrade—or try ham and cheddar pinwheels—for the same comforting combo but with a totally different texture.
When life gets hectic, I often double this recipe. They reheat so well in a toaster oven, crisping right back up, and freeze beautifully when laid flat in freezer bags with parchment between. Mark the bags with a date, and you’ve got grab-and-go breakfasts or lunches for up to a month. For make-ahead brunches, I cook the chaffles, cool them uncovered on a pan to avoid sogginess, stack with parchment paper, refrigerate, then warm them up in a toaster oven or hot oven for 5–8 minutes before serving.
One sweet memory: I packed a stack for my son’s early school trip once, and later he wrote me a note on a crumpled napkin saying, “Thanks Mom, best crunch.” Little moments like that remind me why simple, hometown recipes like these ham and cheese chaffles are so worth sharing.
How to Store and Freeze
Keep your ham and cheese chaffles crispy by cooling them on a wire rack before storing to avoid trapped steam.
- In the fridge: Store cooled chaffles in an airtight container or zip-top bag with parchment between layers; they last 3–4 days.
- In the freezer: Spread chaffles out on a baking sheet to flash freeze, then transfer to freezer bags or containers with parchment paper separating them. Label with the date and use within 1 month for best taste.
- Make ahead: Cook a double batch, cool on racks, layer with parchment, then refrigerate or freeze as above for easy meal prep. Planning a bigger prep day? Consider adding a batch of high-protein cottage cheese flatbread to your freezer stash too.
Reheating tips to bring back that crunch:
- Toaster oven (best for crispiness): Preheat to 350°F (175°C). Reheat refrigerated chaffles for 5–8 minutes, frozen ones for 8–12 minutes until hot and crisp.
- Air fryer: Heat at 350–375°F for 4–8 minutes (shorter if thawed, longer if frozen), checking so they don’t burn.
- Oven: Place on rack or baking sheet, reheat at 350°F for 6–10 minutes (add time if frozen).
- Microwave: Not ideal, as chaffles get soggy. If you must, heat briefly then crisp in a toaster oven or skillet for a minute.
Answers to Common Questions
Q: Can I use pre-shredded cheese?
A: I recommend grating your cheddar fresh. Pre-shredded cheese often contains anti-caking agents that block proper melting and crisping, so you’ll miss out on those melty, crispy pockets that make ham and cheese chaffles so good.
Q: Can I use other cheeses or meats?
A: Absolutely! Swiss, Gruyère, or Monterey Jack all work beautifully. For extra smoky flavor, try smoked cheddar. You can swap the ham for cooked bacon, diced chicken, or turkey—just sauté and dice meats that are large or moist so your chaffles hold together well.
Q: Why did my chaffles turn out floppy?
A: Floppiness usually happens if the waffle iron isn’t hot enough or the chaffles steamed while cooling. Be sure to fully preheat your iron, don’t press the lid down, add a minute of cook time if needed, and move finished chaffles to a wire rack so they stay crunchy.
Q: Can I prepare the batter ahead?
A: You can grate cheese and whisk eggs in advance, but for best texture, mix everything and cook soon after. If you refrigerate the mix, give it a quick stir before cooking as it can settle.
Q: Are these gluten-free and low-carb?
A: Yes! They contain no flour and rely on eggs and cheese for structure, making them naturally gluten-free and low-carb. If you’d like another low-carb bake, try these Keto Blueberry Cream Cheese Muffins.
Q: How many chaffles does this recipe make?
A: This recipe makes about 2 chaffles, depending on your waffle iron size and how much batter you use per chaffle.
Q: What’s the best way to reheat frozen chaffles?
A: For the crispiest results, reheat from frozen in a preheated toaster oven or air fryer. Check the storage section above for temperature and timing details. Avoid microwaving unless you crisp them afterward.
Q: How can I make them lighter or more like waffles?
A: Whisk your eggs just until slightly frothy before mixing with the cheese. This adds air and results in a lighter, fluffier chaffle instead of a dense cheese disk. For an even fluffier, pancake-style breakfast, check out these Cottage Cheese Protein Pancakes.
Crispy, golden chaffles made with sharp cheddar cheese, eggs, and diced ham, perfect for breakfast, lunch, or snacks. Naturally low-carb and gluten-free with a crunchy exterior and gooey inside.
- Total Time: 14 minutes
- Yield: About 2 chaffles 1x
Ingredients
- 1 cup sharp cheddar cheese, freshly grated using the larger holes
- 2 large eggs, whisked well
- 1 cup ham, diced into small pieces
- 1 pinch salt (optional, depending on ham saltiness)
- 1 pinch black pepper (optional)
- High-heat nonstick spray or oil (for waffle iron)
Instructions
- Preheat your waffle iron until hot and ready.
- Grate 1 cup of sharp cheddar cheese using the larger holes of the grater.
- Dice about 1 cup of ham into small pieces.
- Whisk 2 large eggs until well combined, whisk until slightly frothy for lighter chaffles (optional).
- In a bowl, combine the grated cheddar and whisked eggs, mixing until glossy and smooth.
- If using large or moist ham pieces, sauté briefly and drain (optional).
- Gently fold diced ham into the cheese and egg mixture.
- Add a pinch of salt and black pepper to taste, if desired.
- Lightly brush or spray the waffle iron grids with oil or high-heat nonstick spray if the iron tends to stick.
- Spoon about 1/4 to 1/3 cup of the mixture into the waffle iron to cover the pattern.
- Close the waffle iron gently without pressing down and cook for 2 to 4 minutes.
- When sizzling quiets and edges turn deep golden brown, open iron and remove chaffles.
- Transfer chaffles to a wire rack to keep them crispy and prevent sogginess.
- Let chaffles rest for about 1 minute before stacking or serving.
Notes
Do not overmix the batter to avoid dense chaffles., Use freshly grated cheese instead of pre-shredded for better melting and crisping., Cool chaffles on a wire rack to prevent sogginess from steam., Chaffles freeze well when flash frozen on a baking sheet, then stored with parchment paper between layers, and last up to 1 month., Reheat refrigerated chaffles in toaster oven at 350°F (175°C) for 5–8 minutes; frozen for 8–12 minutes for best crispiness., Air fryer reheating: 350–375°F for 4–8 minutes depending on thawed or frozen state., Microwaving is not recommended due to sogginess but can be used briefly followed by crisping in toaster or skillet., To make chaffles lighter and fluffier whisk eggs until frothy before mixing., You can substitute cheddar with Swiss, Gruyère, or Monterey Jack cheeses., Swap the ham for cooked bacon, diced chicken, or turkey; sauté large or moist meats before adding.
- Prep Time: 10 minutes
- Cook Time: 4 minutes
- Category: Snack
Nutrition
- Serving Size: 1 chaffle
- Calories: Approximately 250 calories per chaffle (estimate)
- Fat: Approx. 18 g per serving
- Carbohydrates: Approx. 2 g net carbs per serving
- Protein: Approx. 20 g per serving