Mongolian Chicken Thighs Recipe for an Easy One-Pan Dinner
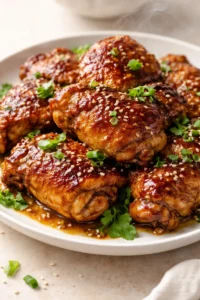
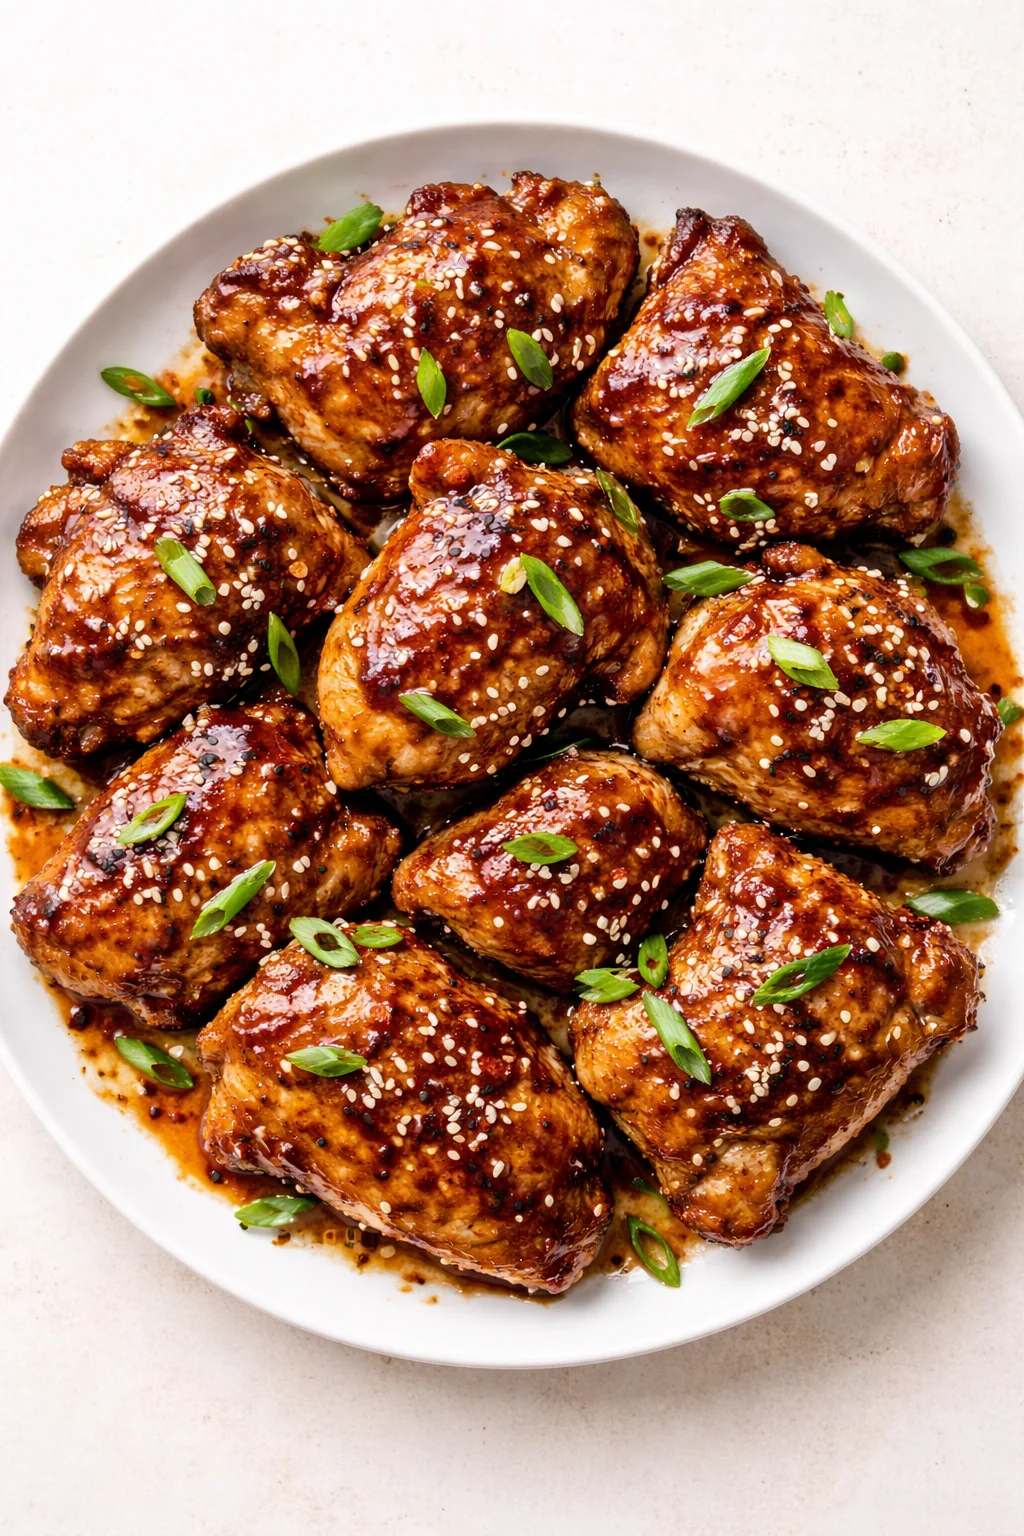
Mongolian Chicken Thighs bring a shiny, savory-sweet sauce over juicy, tender chicken, all cooked in one pan. This homemade version is fresher and more vibrant than takeout, balancing the rich flavors of brown sugar, soy sauce, garlic, and ginger perfectly. It’s a delightful weeknight dinner that feels special but comes together effortlessly.
This Mongolian Chicken Thighs recipe is like your homemade takeout shortcut: tender chicken thighs covered in a bold, glossy, savory-sweet sauce, all cooked in one skillet. It’s made with simple ingredients you probably have on hand—soy sauce, dark brown sugar, garlic, and fresh ginger—with just a light dusting of cornstarch that crisps up the chicken slightly and helps the sauce cling beautifully.
As you keep reading, you’ll discover how to:
- Get a great, confident sear on bite-sized chicken thigh pieces so they finish juicy and full of flavor.
- Create a sticky, restaurant-style sauce right in the pan, using nothing complicated or fancy.
- Make easy adjustments to suit your taste—whether you want it spicier, less sweet, gluten-free, or even vegetarian—and find the perfect sides like rice or quick veggies to serve with it.
Cleanup is a breeze, timing is flexible, and there are helpful, friendly tips throughout. This recipe is approachable, a bit indulgent, but definitely doable on those busy weeknights when you want something delicious without the fuss.
What Makes This Dish Great
- Restaurant-quality flavor: You get that glossy, sticky-sweet sauce without needing any mysterious ingredients.
- One-pan wonder: You cook everything in one skillet, so fewer dishes to wash but full flavor.
- Versatile & forgiving: You can adjust sweetness, swap veggies, or even use chicken breasts instead of thighs without losing the magic.
- Legendary sauce: This sauce clings just right to rice, noodles, or anything you want to dip into it.
Ingredients and Tools You’ll Need
- 600 g boneless, skinless chicken thighs, cut into 1-inch pieces
- 3 tbsp cornstarch
- 2 tbsp vegetable oil
- 4 cloves garlic, minced
- 1 tbsp fresh ginger, grated
- 100 ml low-sodium soy sauce
- 80 ml water
- 75 g dark brown sugar
- 2 tsp rice vinegar
- 1 tsp sesame oil
- 3 spring onions, sliced (green parts reserved for garnish)
- 1 dried red chili, optional for extra heat
Step-by-Step Cooking Method
- Pat chicken pieces dry with paper towels and toss with cornstarch until lightly and evenly coated.
- Heat vegetable oil over medium-high in a large skillet or wok until shimmering; add chicken in a single layer (work in batches to avoid crowding) and cook undisturbed 2–3 minutes, then flip to sear; remove seared pieces to a plate and set aside.
- Reduce heat to medium, add minced garlic and grated ginger to the same pan, and sauté 30–60 seconds until fragrant.
- Pour in soy sauce and water, add dark brown sugar and optional dried chili, whisk while scraping up browned bits, and bring to a gentle simmer.
- Simmer the sauce 2–3 minutes, stirring occasionally, until slightly reduced and glossy, then stir in rice vinegar and sesame oil.
- Return the seared chicken and any accumulated juices to the skillet, toss to coat, and cook another 2–3 minutes until the chicken is cooked through and the sauce thickens.
- Turn off the heat, stir in most of the sliced spring onions (reserving some for garnish), toss once more, and sprinkle the remaining green onions on top.
Pro Tips for Best Results
- Why chicken thighs? They’re a little fattier than breasts, which means they stay juicy and tender when you cook them quickly. Plus, their richer flavor pairs beautifully with the bold sauce.
- Is cornstarch really necessary? Yes! Coating chicken in cornstarch before cooking creates a light, crispy crust and helps the sauce stick to the chicken perfectly. It’s a little step that makes a big texture difference.
- Want it less sweet? No problem! Cut back on the brown sugar, then taste the sauce before adding the chicken. You can always add a touch more, but you can’t take it out once it’s in. Also, remember the sugar gives the sauce its glossy finish.
- Best pan to use? A large skillet or wok with a heavy bottom works great. It heats evenly and handles high heat well, which is key for a good sear and a perfectly thickened sauce.
Complementary Dishes
- Steamed jasmine rice — Its soft, slightly sticky texture soaks up all that rich sauce beautifully.
- Simple stir-fried greens — Bok choy, broccoli, or snap peas tossed quickly with garlic add freshness and a nice crunchy contrast.
- Crispy vegetable spring rolls — They bring a crunchy texture and make the meal feel like a full dining experience.
Drinks
- Jasmine green tea — Its light floral notes refresh your palate between bites of rich chicken.
- A light lager or pilsner — The crisp, fizzy bitterness cuts through the sweet and savory sauce wonderfully.
- Ginger ale with a lime wedge — This spicy-sweet soda is a fun non-alcoholic pairing that echoes the ginger flavor in the dish.
Something Sweet
- Mango sorbet — Fresh and tropical, it’s a light way to finish your meal after the savory main course.
- Fortune cookies — A playful, classic way to cap off your homemade takeout night.
- Lychee fruit — Chilled lychees offer a subtly sweet, fragrant bite that feels elegant and refreshing.
- Don’t overcrowd the pan when searing. If you add too much chicken at once, the pan cools and the chicken steams instead of searing. This means missing out on that crispy, golden crust. I’ve struggled with this too—it really changes the texture and flavor.
- Watch the garlic and ginger carefully. They cook fast. Burnt garlic will taste bitter and can spoil the flavor, so sauté them only until fragrant.
Swaps, Mix-Ins, and Variations

Want to switch things up? Here are some easy changes you can make to fit your taste, diet, or whatever you have on hand.
- Protein swaps: Use boneless chicken breasts cut into small pieces (they cook faster), firm tofu (pressed, cubed, dusted with cornstarch, and pan-fried), or large shrimp (just cook until they’re opaque).
- Add heat: Toss in crushed red pepper flakes, a sliced fresh red chili, or a spoonful of Sriracha while the sauce simmers for more spice.
- Different sweeteners: Honey or maple syrup work well instead of brown sugar. Start with less and adjust—you’ll get a slightly thinner, but lovely caramel flavor.
- Less sweet / brighter: Cut back on sugar, add more rice vinegar, or finish with a squeeze of fresh lime juice to balance sweetness and add brightness.
- Gluten-free: Swap the soy sauce for tamari or coconut aminos to make this gluten-free without sacrificing flavor.
- Veggie boost: Add crunchy veggies like broccoli, bell peppers, snap peas, or baby bok choy. Stir-fry them until just tender, then toss with the chicken and sauce.
- Crispier finish: After searing, pop the chicken under a hot broiler for 2–3 minutes or toss it in the air fryer at 180°C (350°F) for 4–6 minutes to up the crisp factor.
Storage, Make-Ahead, and Reheating
- Fridge: Let the chicken cool completely, then store it in an airtight container for up to 3 days.
- Freezer: You can freeze the sauce or the whole dish in a sealed container for up to 3 months.
- Reheating: Warm gently in a skillet over medium-low heat with a splash of water to loosen the sauce and bring back its glossy shine.
Quick Answers to Common Questions
- Can I substitute chicken breasts for thighs? Absolutely. Cut breasts into even bite-size pieces and shorten the cooking time. Sear until golden, then cook for 2–4 minutes until just done to keep them juicy.
- Why use cornstarch? Coating chicken in cornstarch creates a light, crispy exterior and helps thicken and cling the sauce. If your sauce needs thickening at the end, stir in a small mixture of cornstarch and water and simmer briefly.
- How do I make it less sweet? Reduce the brown sugar to about half, taste the sauce as it cooks, and add more vinegar or lime juice if you want more tanginess.
- Can I make this vegetarian or vegan? Yes! Use firm tofu or cauliflower florets instead of chicken, coat and fry them the same way, and switch soy sauce to tamari or coconut aminos if needed.
- Can I prep ahead? The sauce can be mixed and stored in the fridge for 2–3 days ahead of time. You can also toss the chicken in cornstarch and refrigerate briefly or sear it earlier, then warm gently with sauce when ready.
- Storage and reheating tips? Keep leftovers in an airtight container in the fridge for up to 3 days or freeze for up to 3 months. Reheat on low to medium heat with a splash of water to keep the sauce smooth and glossy.
- Any allergen swaps? For gluten-free, use tamari or coconut aminos instead of soy sauce. If you’re avoiding sesame, swap sesame oil for a neutral oil or leave it out.
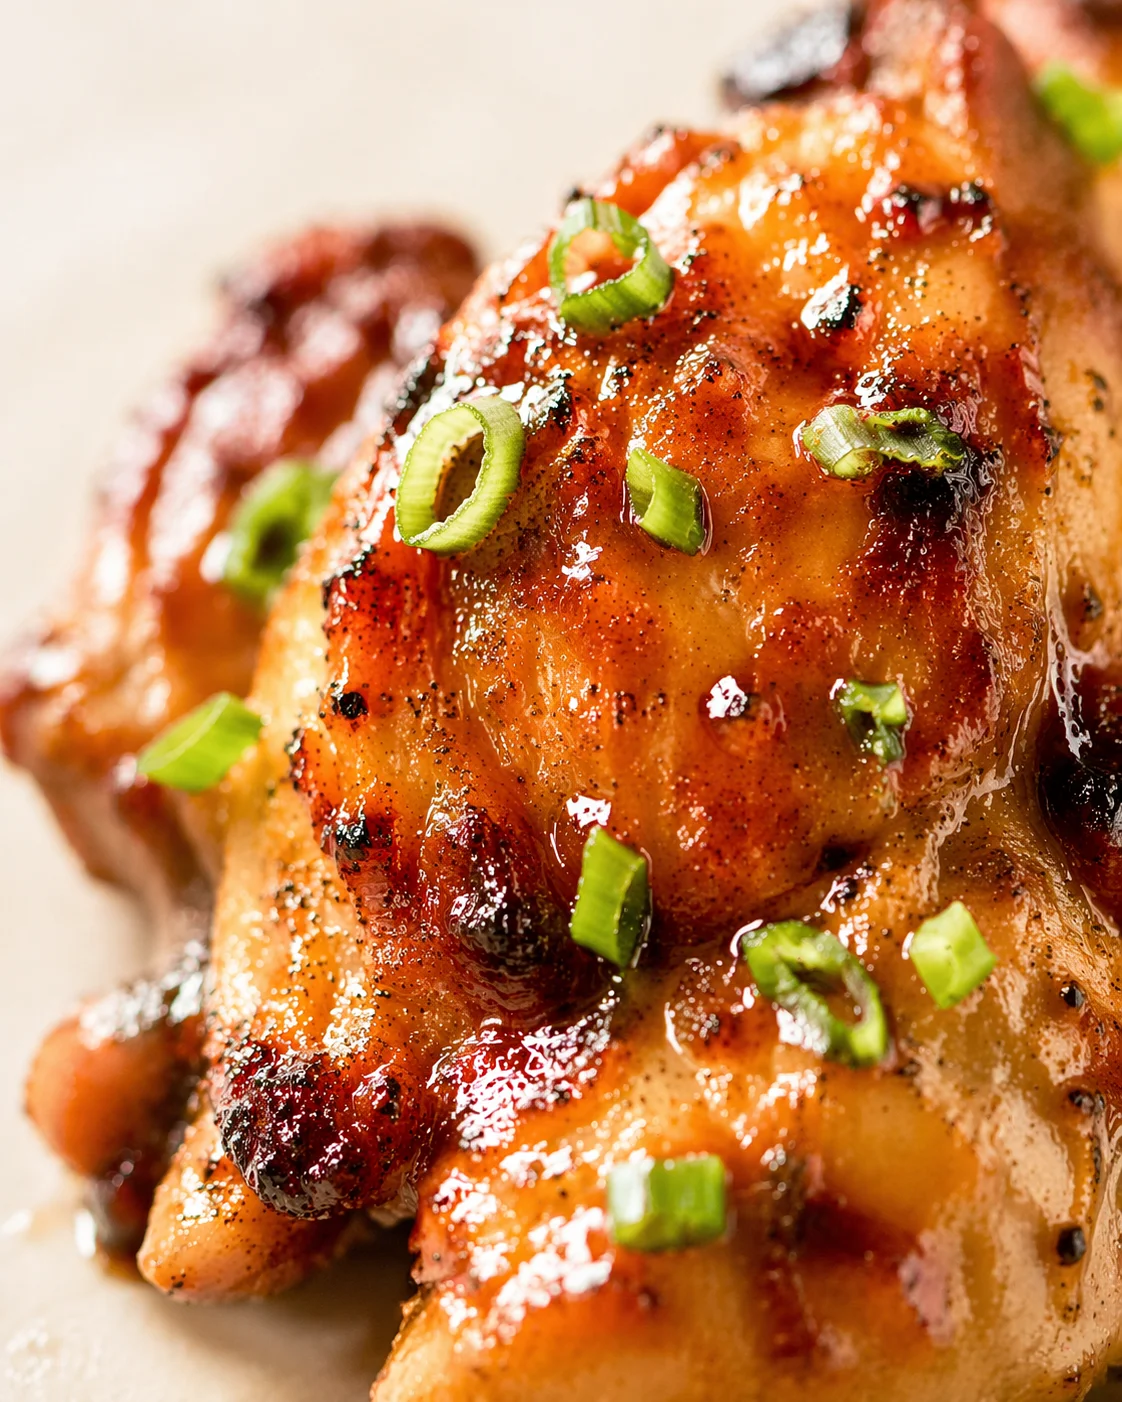
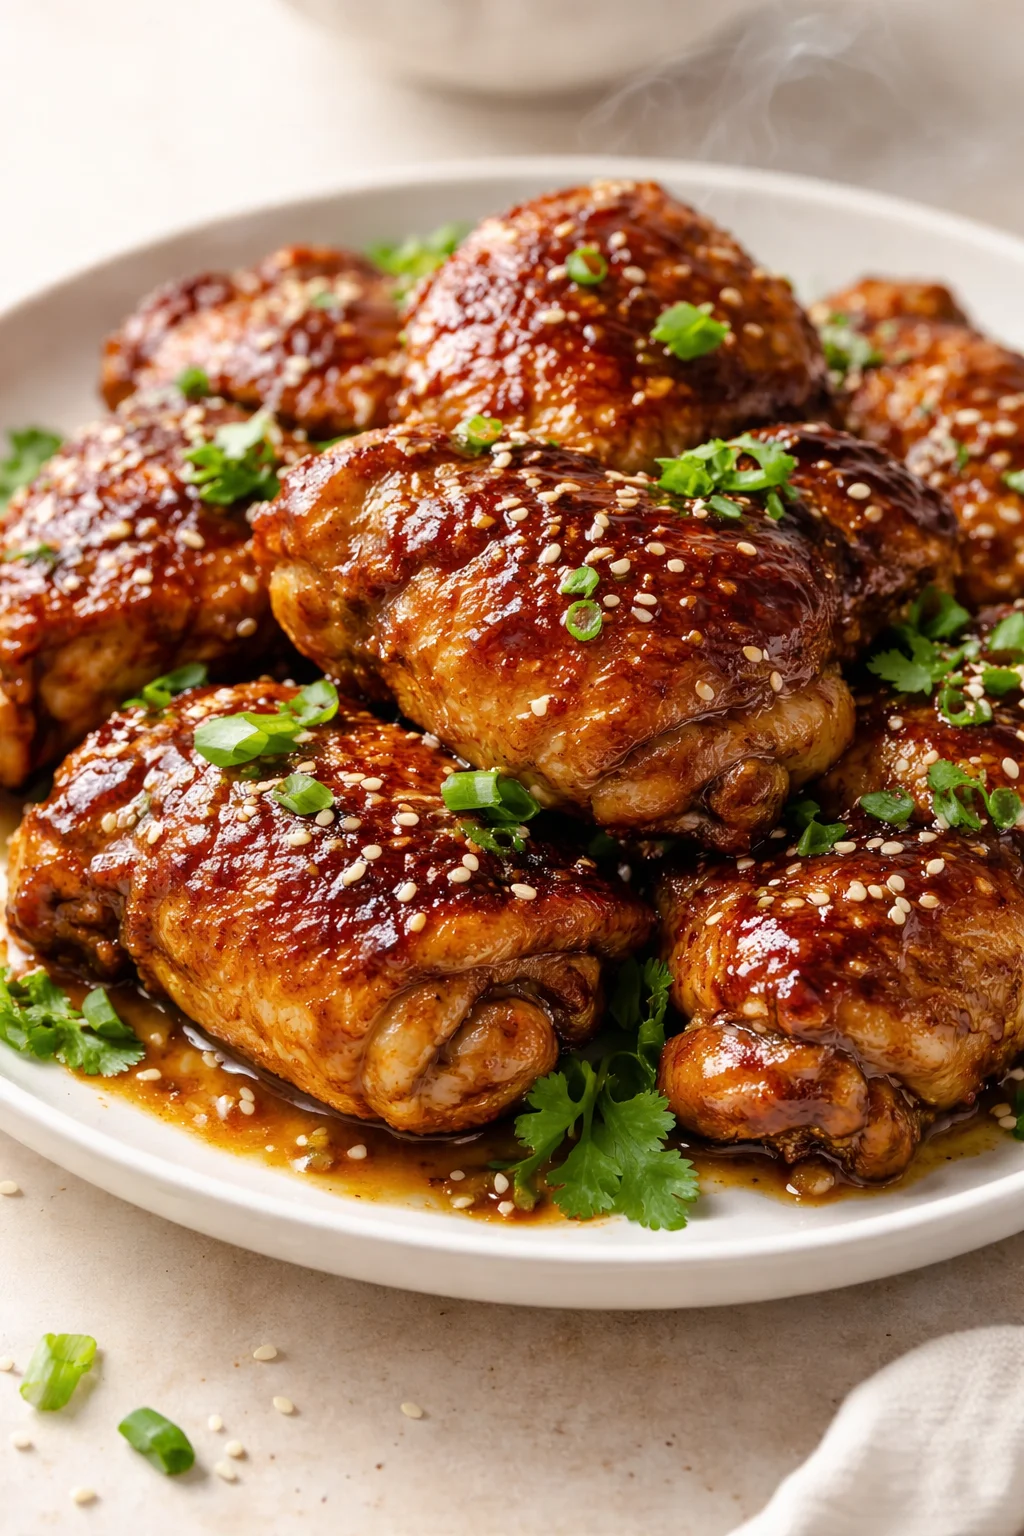
Tender bite-sized chicken thighs in a glossy, savory-sweet sauce made with soy sauce, brown sugar, garlic, and ginger, cooked in one pan for an easy weeknight meal.
- Total Time: 25 minutes
- Yield: 4 servings 1x
Ingredients
- 600 g boneless, skinless chicken thighs, cut into 1-inch pieces
- 3 tbsp cornstarch
- 2 tbsp vegetable oil
- 4 cloves garlic, minced
- 1 tbsp fresh ginger, grated
- 100 ml low-sodium soy sauce
- 80 ml water
- 75 g dark brown sugar
- 2 tsp rice vinegar
- 1 tsp sesame oil
- 3 spring onions, sliced (green parts reserved for garnish)
- 1 dried red chili (optional)
Instructions
- Pat chicken pieces dry with paper towels and toss with cornstarch until lightly and evenly coated.
- Heat vegetable oil over medium-high heat in a large skillet or wok until shimmering; add chicken in a single layer (in batches if necessary to avoid crowding) and cook undisturbed 2–3 minutes, then flip to sear; remove seared pieces to a plate and set aside.
- Reduce heat to medium, add minced garlic and grated ginger to the same pan, and sauté 30–60 seconds until fragrant.
- Pour in soy sauce and water, add dark brown sugar and optional dried chili, whisk while scraping up browned bits, and bring to a gentle simmer.
- Simmer the sauce 2–3 minutes, stirring occasionally, until slightly reduced and glossy; then stir in rice vinegar and sesame oil.
- Return seared chicken and any accumulated juices to the skillet, toss to coat, and cook another 2–3 minutes until chicken is cooked through and sauce thickens.
- Turn off heat, stir in most of the sliced spring onions (reserving some for garnish), toss once more, and sprinkle remaining green onions on top before serving.
Notes
Do not overcrowd the pan when searing to get a crispy golden crust and avoid steaming the chicken., Cornstarch coating creates a light crispy exterior and helps sauce cling to the chicken., Adjust sweetness by reducing brown sugar and balancing with extra rice vinegar or lime juice., Can swap chicken thighs with chicken breasts, firm tofu, or shrimp., For gluten-free, substitute soy sauce with tamari or coconut aminos., Can add extra heat using crushed red pepper flakes, fresh chili, or Sriracha., Optional broiler or air fryer crisping after searing increases crisp factor., Store in airtight container in fridge up to 3 days or freeze up to 3 months., Reheat gently with splash of water to maintain sauce glossiness.
- Prep Time: 10 minutes
- Cook Time: 15 minutes
- Category: Main Course
- Cuisine: Asian-inspired
Nutrition
- Serving Size: 1 serving
- Calories: Approximately 350 kcal per serving
- Fat: Approximately 15 g per serving
- Carbohydrates: Approximately 20 g per serving
- Protein: Approximately 30 g per serving