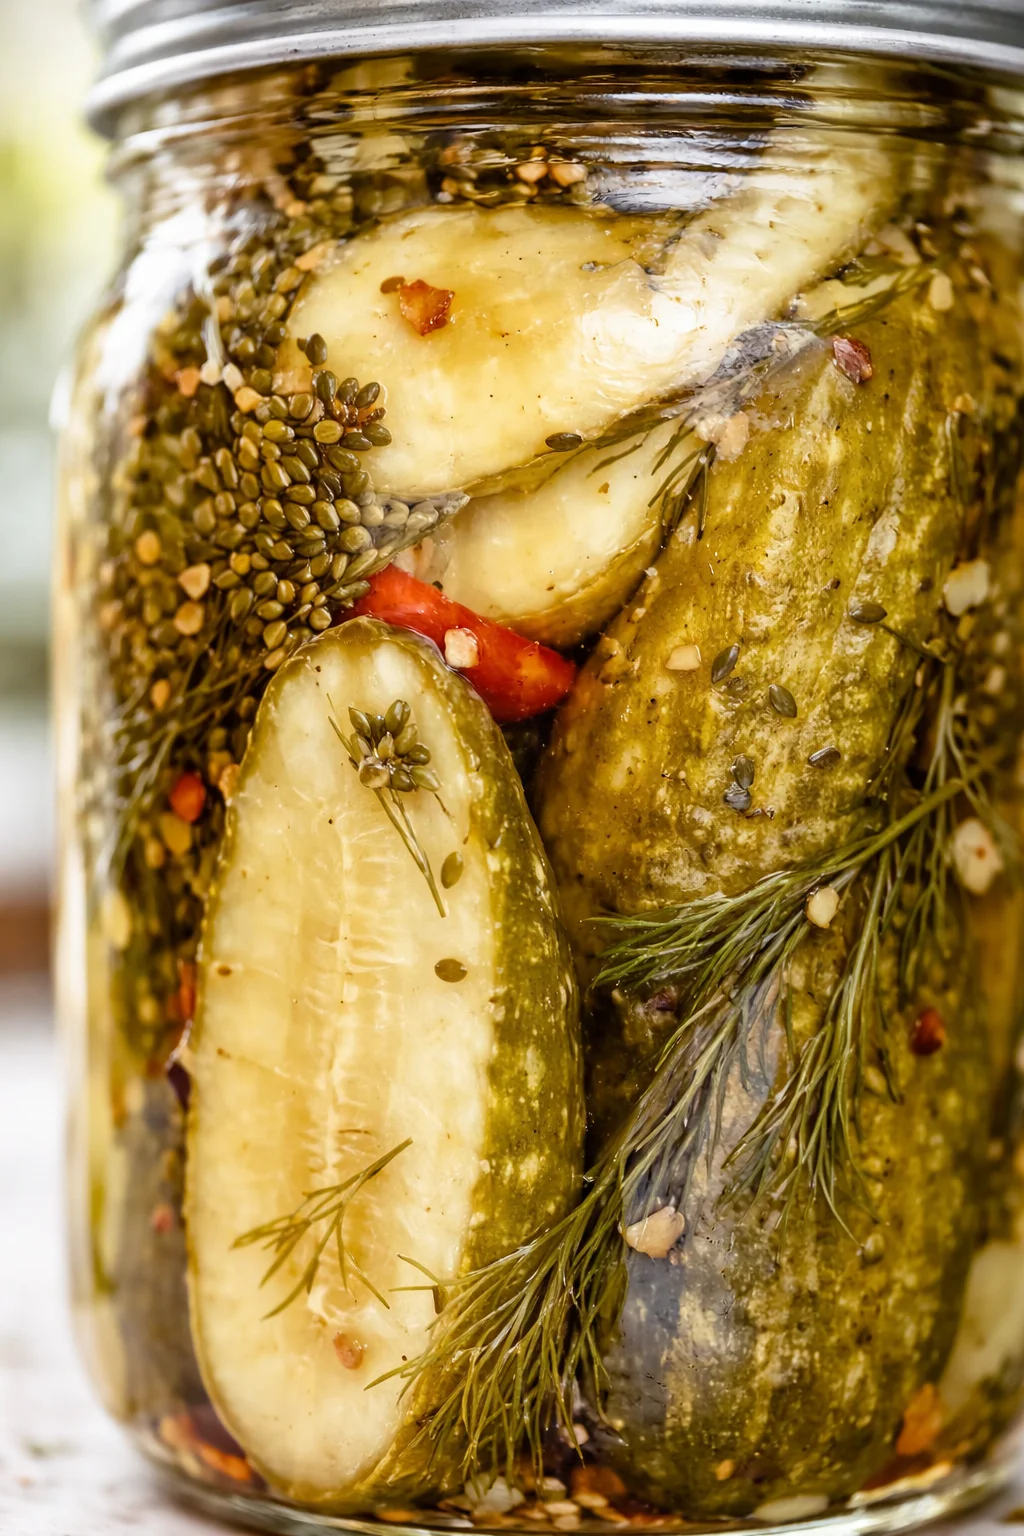
THE BEST Spicy Garlic Dill Pickle Recipe | foodiecrush.com
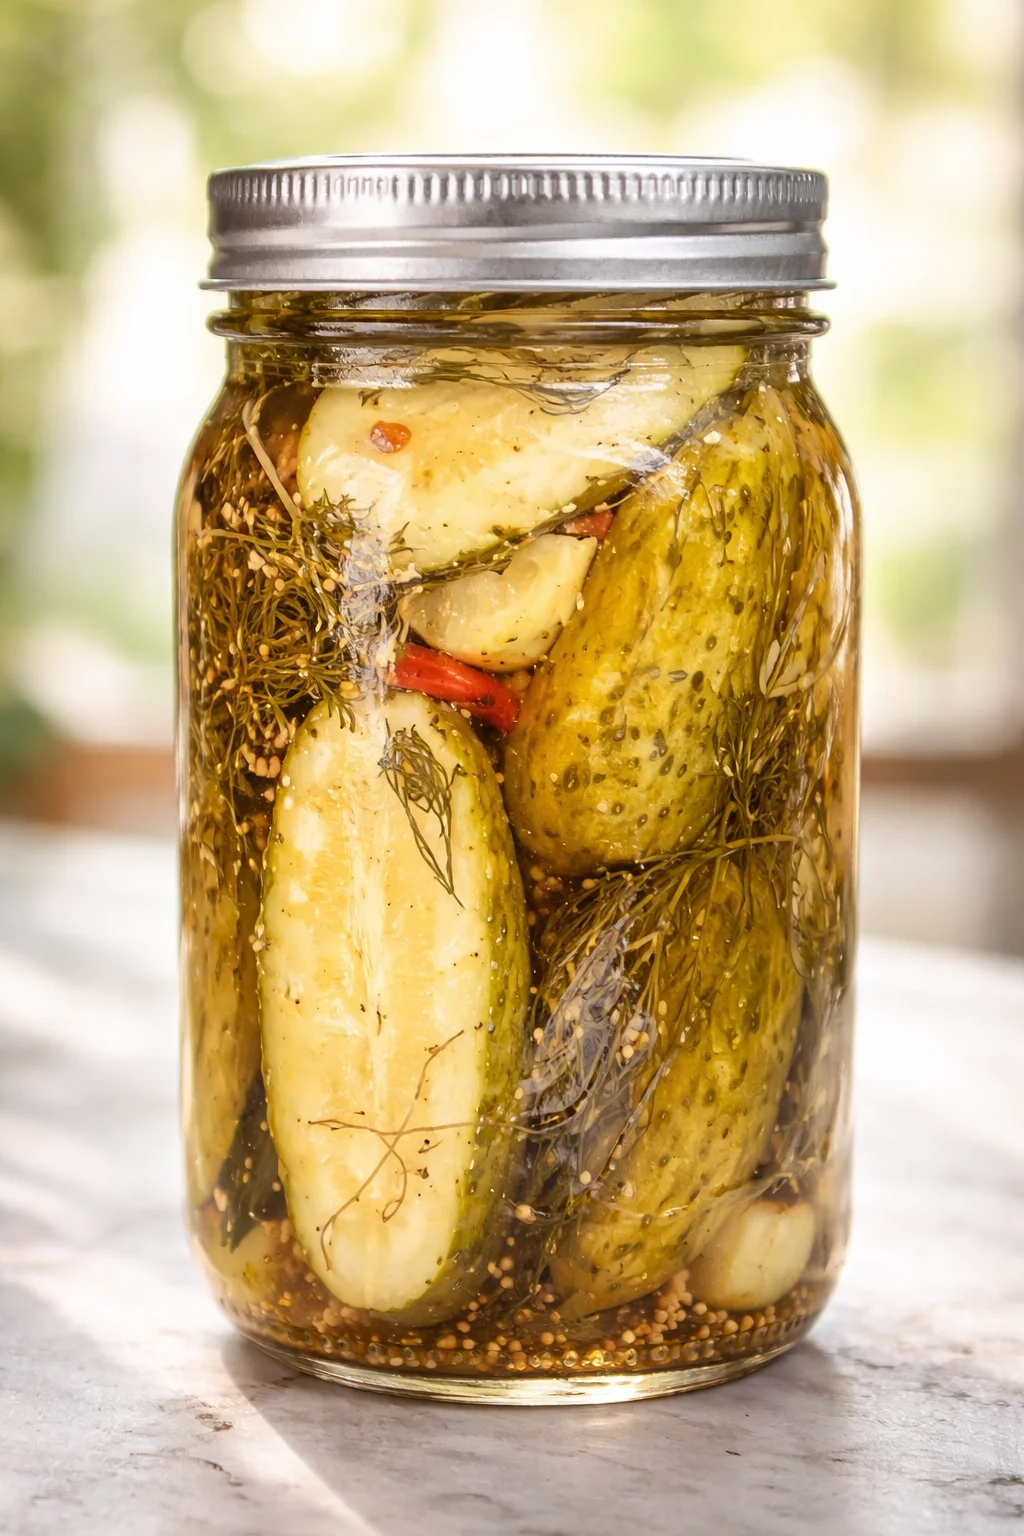
Every summer, I look forward to canning a few jars of spicy garlic pickles that capture the same punchy flavor as a jar I once grabbed at a local farmer’s market—one that left me both amazed and craving more. As a certified pickle lover, you can imagine I’m always on the hunt for that perfect crunch and kick.
I proudly wear the crown of “pickle queen” here, and you can see it in my other favorites like my easy refrigerator dill pickles and tangy, zesty bread and butter pickles.
This dill pickle recipe has everything I dream about when it comes to spicy pickles: lots of garlic, a fresh dill flavor, a little heat that sneaks up on you, and of course, that satisfying crunch. This recipe stems from a fun story I heard on NPR’s All Things Considered Lost Recipe series. A listener was aiming to recreate her Aunt Minnie’s secret pickle recipe but had just a few clues. To solve the mystery, NPR teamed up with Marisa from Food In Jars—an absolute guru in the canning world—who shared some wonderful insights that helped shape the base of this delicious homemade dill pickle recipe.
Enjoy every crunchy, spicy bite!
If you’re a fan of big, garlicky pickles that bring heat and a crunch that makes your teeth smile, I promise you’re going to love this recipe. I crafted these spicy garlic dill pickles after chasing down a favorite market jar. Thanks to a little inspiration from NPR’s Lost Recipe story and a treasure trove of pickling advice from Marisa at Food In Jars, I landed on a bright, layered brine and a simple method that gets you dependable results every time.
Keep reading, and I’ll walk you through everything you need to know to make these delightful pickles at home: from mixing a homemade pickling spice to blending a tangy brine with apple cider and white vinegar that delivers amazing depth, plus easy packing and processing tips that let you decide whether you want to can them for shelf-stable storage or keep them quick and fresh as refrigerator pickles. You’ll get about 5–6 quart jars from this batch, and the entire prep takes around 30 minutes, with just 10 minutes of processing time.
- Flavor-packed: garlic, dill, and a hit of heat from Thai chiles.
- Crunch is king: smart tips to pick and prep cucumbers that stay crisp.
- Choose your finish: can them for long-lasting goodness or fridge pickle for speedy snacking.
- Scalable: easily double or halve the recipe based on your cucumber haul or craving.
Bold Garlic, Dill, and Heat
This recipe is all about bold, garlicky flavors and dill that shines with a spicy punch — perfect straight from the jar or as the zing that lifts burgers, sandwiches, and cocktails to the next level. Here’s why you should make them:
- Complex, lively flavor comes from a vinegar blend of apple cider and white vinegar plus a homemade pickling spice mix.
- Generous amounts of garlic and whole Thai chiles give a fresh, energetic heat that wakes up your taste buds.
- A satisfying crunch, thanks to carefully chosen small, firm pickling cucumbers and our simple prep advice.
- Flexible storage options let you either shelf-stabilize them through canning or keep them fridge-friendly for quicker enjoyment.
- Easy to tailor to your batch size — make a lot or keep it small.
Ingredients for Spicy Garlic Dill Pickles
- 2 tablespoons black peppercorns
- 2 tablespoons mustard seeds
- 2 tablespoons coriander seeds
- 2 tablespoons dill seed
- 1 tablespoon allspice berries
- 1 teaspoon crushed red pepper flakes
- 10–12 bay leaves, crumbled
- 10–12 pounds pickling cucumbers (Kirby), scrubbed clean and kept whole or sliced
- 2 cups apple cider vinegar
- 2 cups white vinegar
- 4 cups water
- 5 tablespoons pickling salt
- Homemade pickling spice (use 2–3 tablespoons per jar)
- Dried dill weed from a 2-ounce package (use 2–3 fronds and stalks per jar)
- 10-18 small Thai red peppers, split down the middle but not separated, leaving seeds intact (use 2-3 per jar)
- 20-30 garlic cloves, peeled and lightly smashed (use 4-5 per jar)
Pickle Prep and Canning Steps
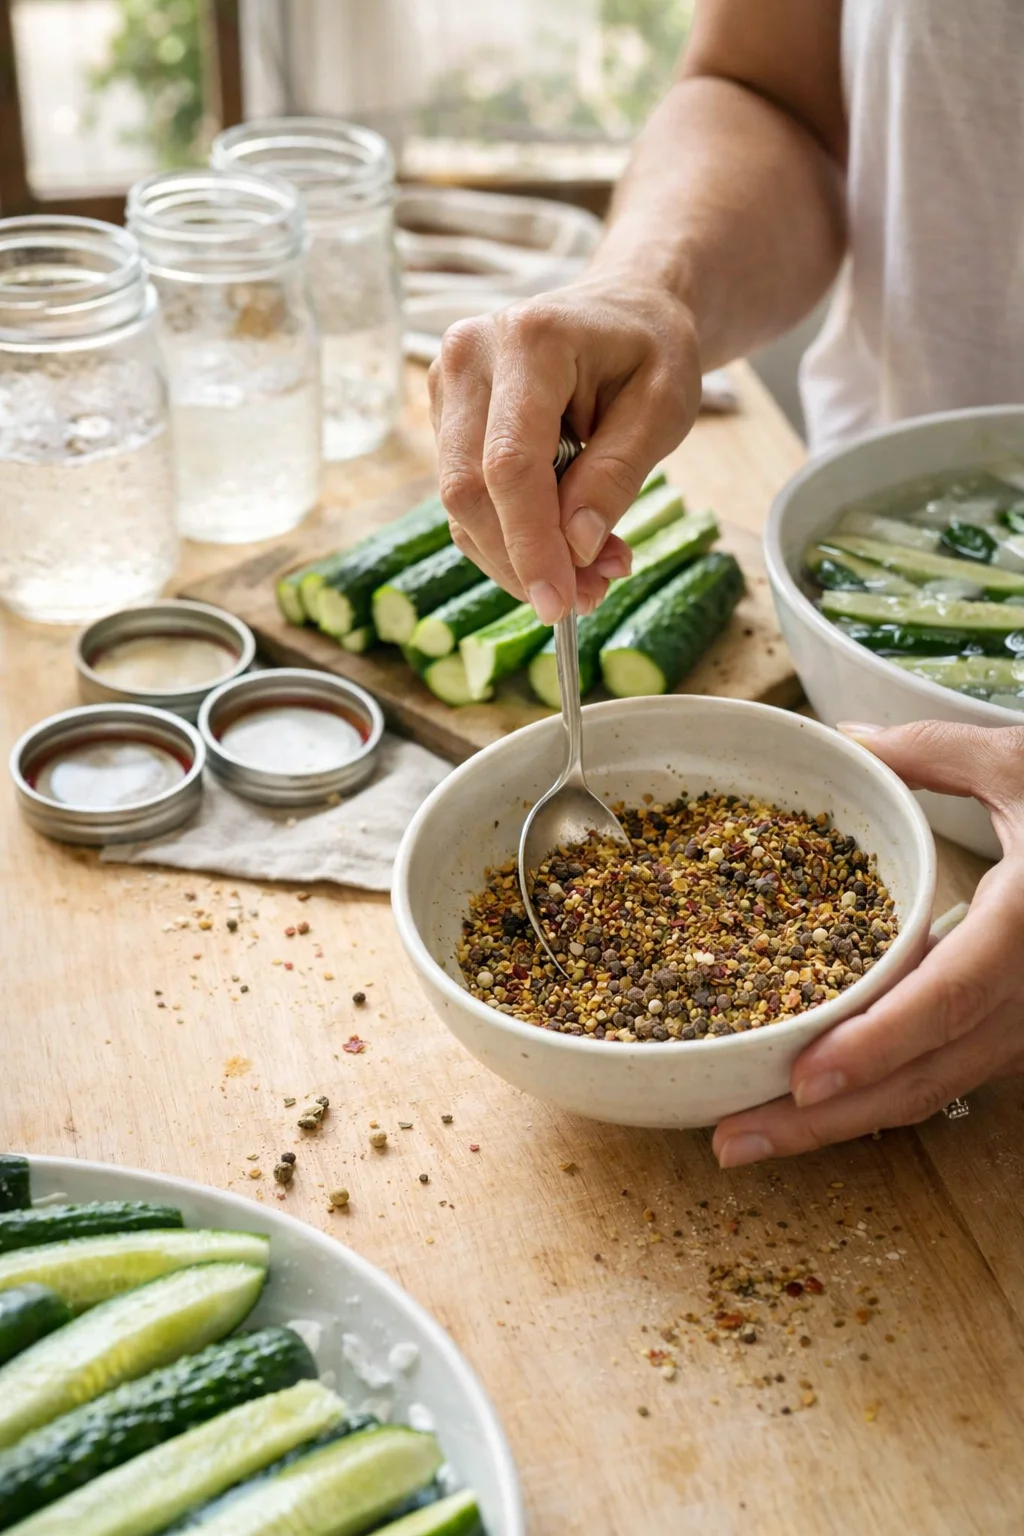
- Combine all pickling spice ingredients in a small bowl and stir well.
- Prepare jars and lids: for canning sterilize jars (dishwasher hot cycle or boil 2 minutes per jar) and keep warm; simmer lids in hot water; for refrigerator pickles wash and rinse jars and lids with hot water.
- Rinse cucumbers thoroughly and trim off the bloom end (or trim both ends); keep whole or slice into spears or coins, skin on.
-
Optional: soak cucumbers in ice water 20–30 minutes or overnight to improve crispness.
- Bring apple cider vinegar, white vinegar, water, and pickling salt to a simmer in a large stock pot to make the brine.
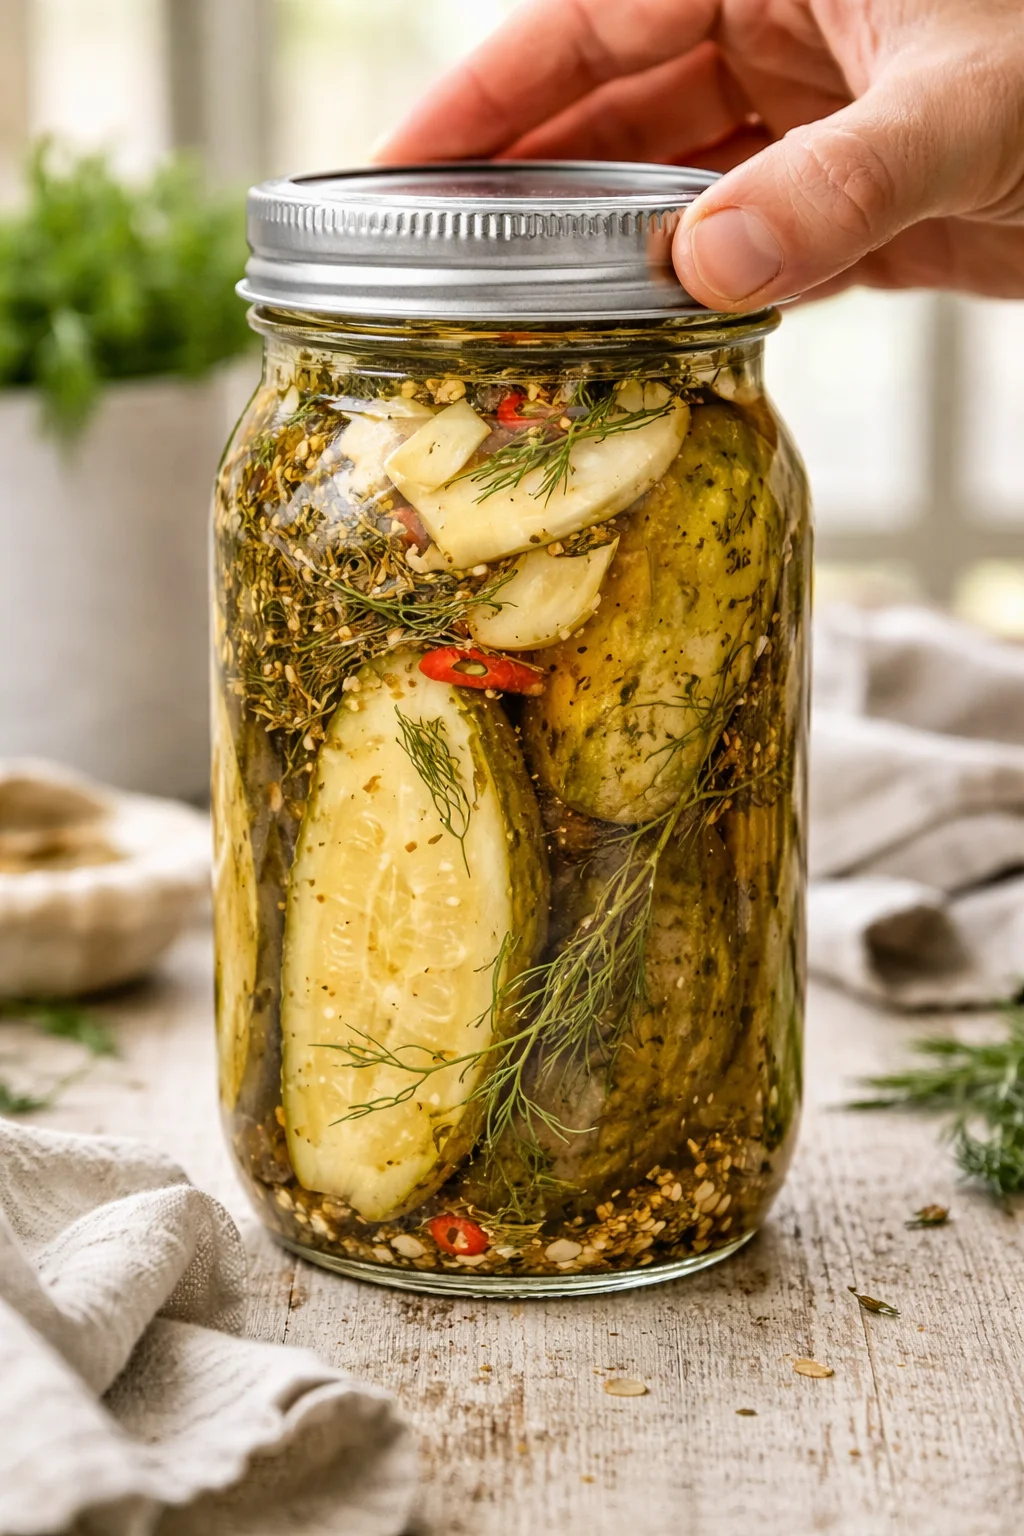
- Into each sterilized jar add 2–3 tablespoons homemade pickling spice, 2–3 fronds/stalks dried dill, 2–3 split Thai red peppers, and 4–5 lightly smashed garlic cloves.
- Pack cucumbers into jars snugly but without mashing; trim to keep them below the jar neck if necessary.
-
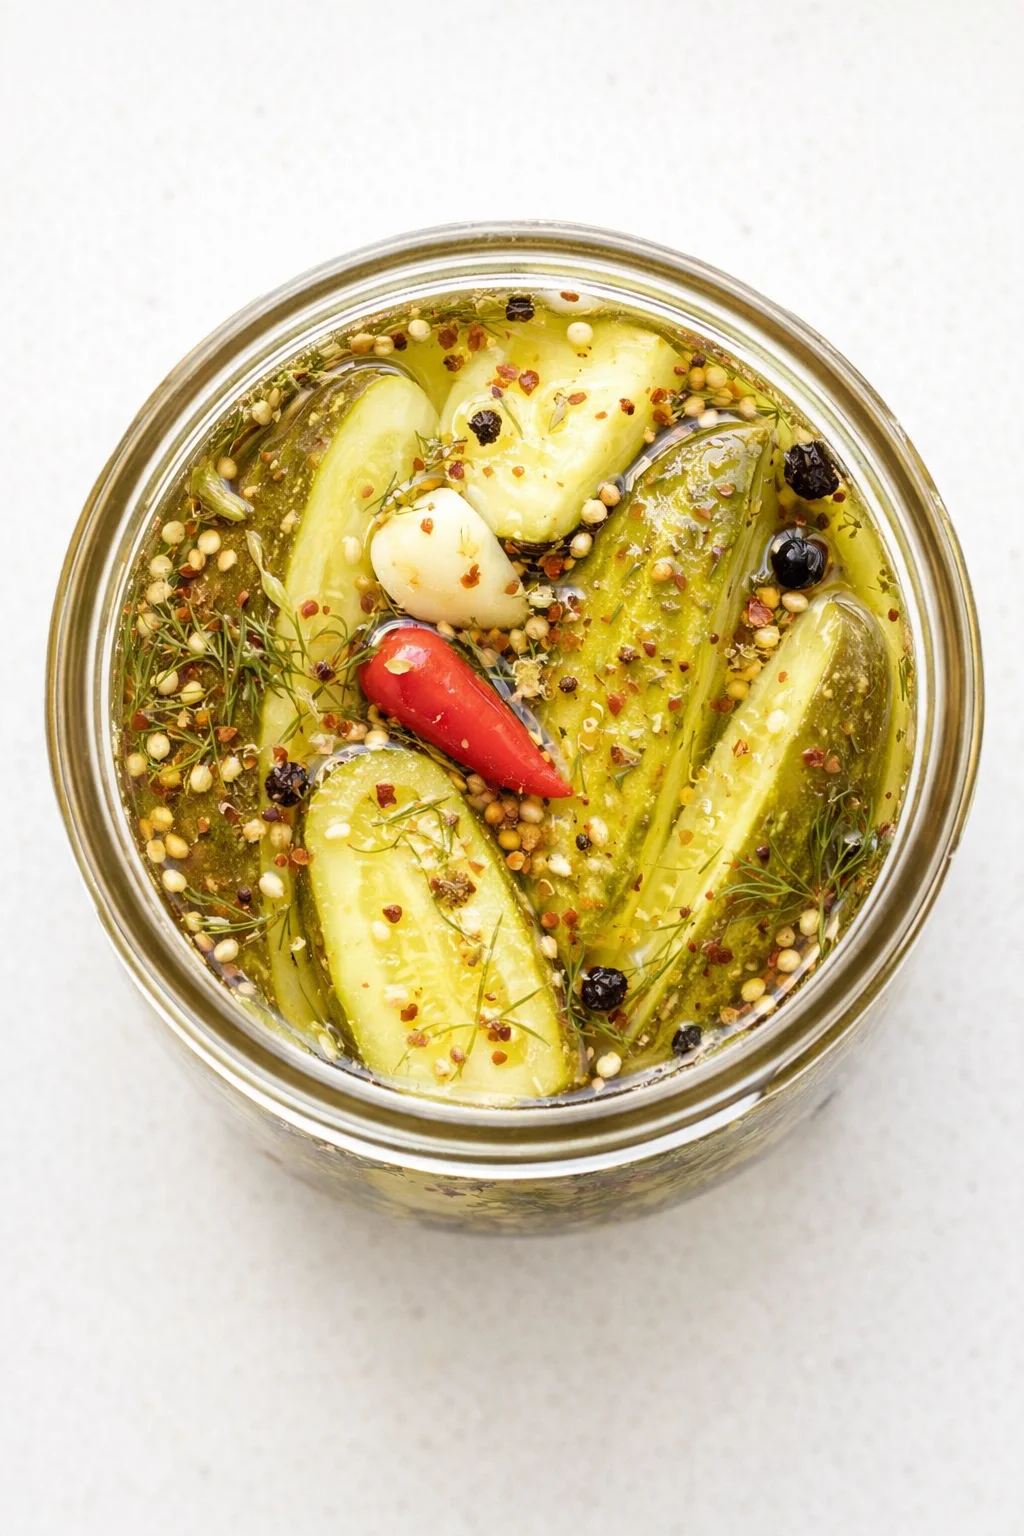
Pour the hot brine over the cucumbers, leaving about ½ inch headspace.
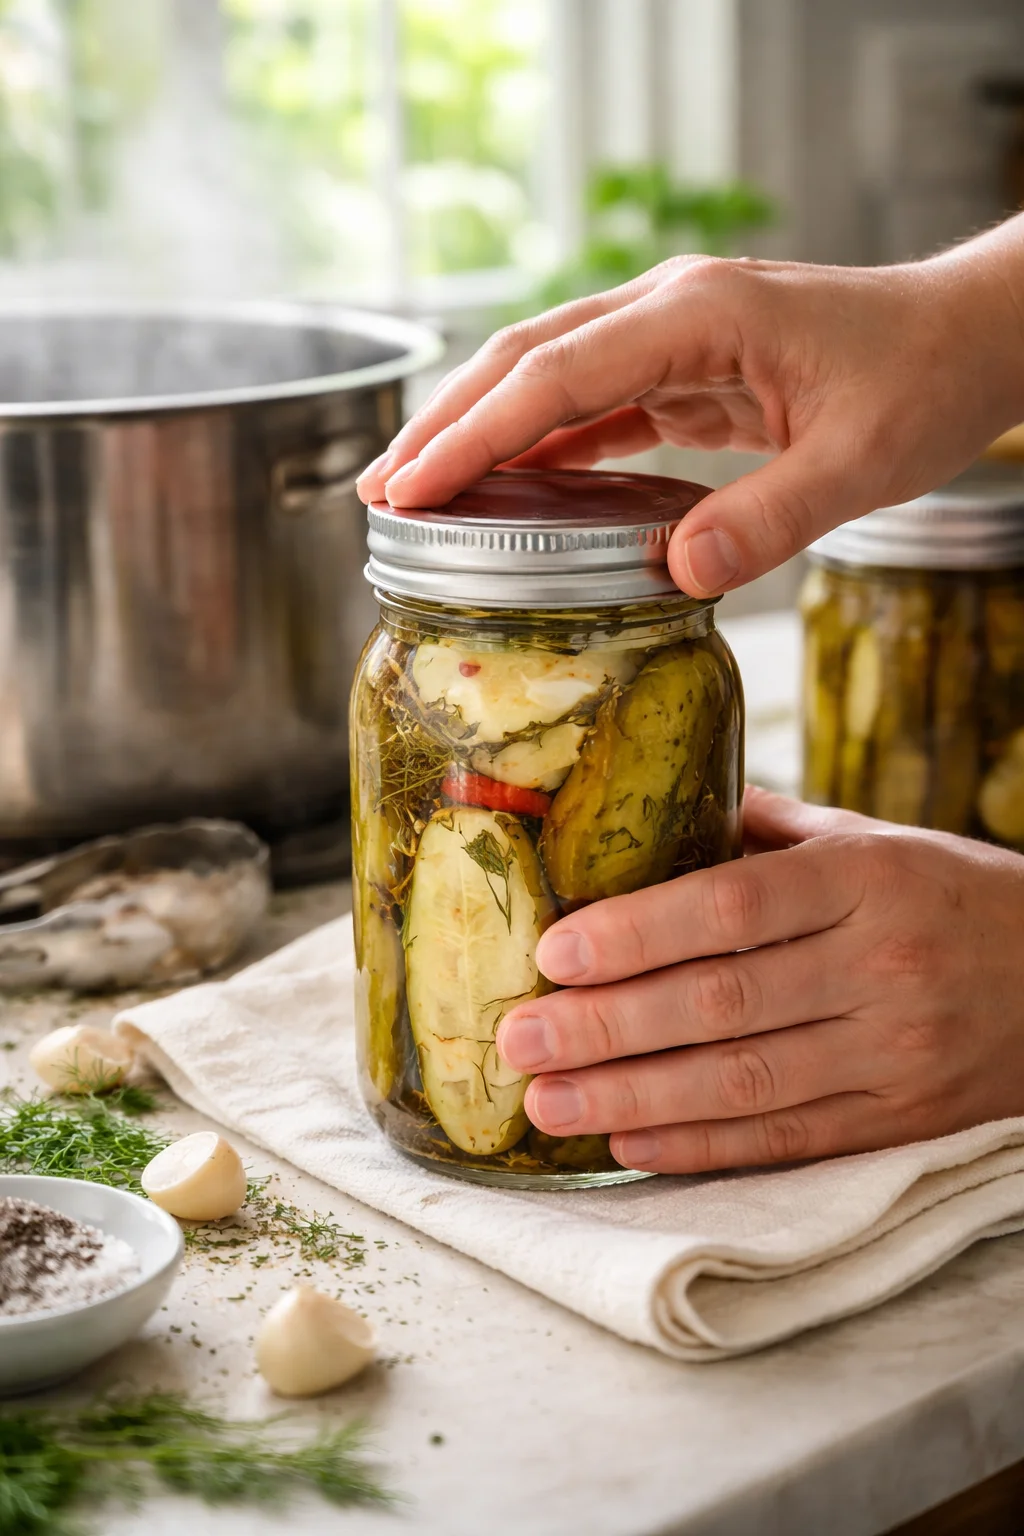
- Wipe jar rims clean, place sterilized lids, and screw on rings fingertip-tight without touching the sealing edges.
- Process jars in a boiling water bath canner for 10 minutes, then remove and place jars on a towel to cool until lids pop and seal.
-
If making refrigerator pickles, skip the boiling water bath and place the sealed jars directly into the refrigerator.
Tips for Crisp, Flavorful Results
This recipe is super flexible to suit your preferences. Not a fan of heat? No problem, skip the chili peppers. Prefer a touch of sweetness instead? Try our sweet & spicy dill pickles recipe. Got larger cucumbers? Cut them to fit your jars. Love garlic? Add more! Or leave it out if it’s not your thing.
Choose how long you want to keep them. Planning for long-term? Go for water-bath canning to keep them shelf-stable. Want to eat soon? Make quick refrigerator pickles instead.
Mix your vinegars for extra flavor complexity. I like to use equal parts apple cider vinegar and white vinegar. The apple cider vinegar adds depth, while the white vinegar adds that classic pickle pucker you expect.
Serving Ideas and Flavor Variations
While I often snack on these spicy dill pickles right out of the jar, they’re wonderful on burgers, sandwiches, wraps, and more to add a punch of flavor and crunch.
- Pulled Pork Sandwiches with Crunchy Slaw
- The Best Garlic Burgers EVER
- Bacon Cheeseburger with Caramelized Onions
- Healthy-ish Fried Fish Sandwich
- Dill Pickle Chicken Salad
- Bloody Marys (because yes, I love a pickle garnish!)
- Tuna Salad
- Potato Salad
I love grabbing a spicy dill pickle straight from the jar and eating it as an easy snack, but they also shine on sandwiches, burgers, wraps, and more.
- Pulled Pork Sandwiches with Crunchy Slaw
- The Best Garlic Burgers EVER
- Bacon Cheeseburger with Caramelized Onions
- Healthy-ish Fried Fish Sandwich
- Dill Pickle Chicken Salad
- Bloody Marys (a pickle garnish is my go-to!)
- Tuna Salad
- Potato Salad
- Quick Pickled Red Onions
- Quick Pickled Beets
- Pickled Green Beans
- Zesty Bread and Butter Pickles
- Sweet and Sour Asian Pickled Cucumbers
- Pickled Jalapeños
- Homemade Pickling Spice
Storage and Shelf-Life Guide
This recipe has you covered whether you want short- or long-term storage:
- Water-bath canning (Shelf Stable): Process jars in boiling water for 10 minutes. Store sealed jars in a cool, dry place. Unopened, they keep for up to a year. Let them sit for 7–10 days before tasting — the flavor only gets better with time.
- Refrigerator Pickles: If you skip the hot water bath, store the sealed jars straight in the fridge. These won’t keep as long or be shelf stable but should last 1–2 months.
- After opening: Keep your opened jar in the fridge and use within a few weeks for the best crunch and flavor — try them in Traditional Potato Dill Pickle Soup.
For extra crispness, pick small firm cucumbers, trim the bloom end before packing, pack them snugly but gently to avoid bruising, and process your jars promptly. Some folks also soak cucumbers in ice water for 20–30 minutes or even overnight before pickling to keep them crispy — give it a try if you’d like!
Pickling FAQs and Troubleshooting
How do you keep pickles crisp when canning them?
The secret is choosing small, firm cucumbers like Kirby or pickling cucumbers, and canning them as soon as possible after buying. These young cucumbers have fewer seeds and less water, so they hold up nicely.
I haven’t personally tried this, but I’ve seen that soaking cucumbers in an ice bath for 20-30 minutes or even overnight before canning helps keep them extra crisp.
How long does it take for the cucumbers to become pickles?
Patience is key! I usually wait about 10 days before digging in. My mom lets hers sit for three months—crazy, right? But I can’t argue with her; the flavor definitely deepens with time. Craving that tang sooner? Whip up a batch of Healthy Dill Pickle Cottage Cheese Ranch for instant pickle flavor while you wait.
Can I make these as refrigerator pickles?
Absolutely! Just skip the hot water bath step and pop the sealed jars right into your fridge. They won’t last as long or be shelf stable, but they’ll keep nicely for 1 to 2 months.
Keep unopened jars stored in a cool, dry spot and they’ll stay amazing for up to a year. Once opened, refrigerate and enjoy within a few weeks for the best taste and crunch.
If you try this recipe, please share your experience! Leave a ⭐️⭐️⭐️⭐️⭐️ rating below and drop a comment to tell me how you liked it.
Course Snack
Cuisine American
Keyword spicy dill pickles, spicy pickle recipe
Prep Time 30 minutes minutes
Cook Time 10 minutes minutes
Total Time 40 minutes minutes
Servings 5 -6 quart jars
Equipment
- 32-ounce Wide Mouth Mason Jars
- Water Bath Canner
Ingredients
Homemade Pickling Spice
- 2 tablespoons black peppercorns
- 2 tablespoons mustard seeds
- 2 tablespoons coriander seeds
- 2 tablespoons dill seed
- 1 tablespoon allspice berries
- 1 teaspoon crushed red pepper flakes
- 10-12 bay leaves , crumbled
Spicy Dill Pickles
- 10-12 pounds pickling cucumbers , scrubbed clean and kept whole or sliced
- 2 cups apple cider vinegar
- 2 cups white vinegar
- 4 cups water
- 5 tablespoons pickling salt
- Homemade pickling spice (recipe above) (use 2-3 tablespoons per jar)
- Dried dill weed from a 2-ounce package (use 2-3 fronds and stalks per jar)
- 10-18 small Thai red peppers , split down the middle but not separated, leaving seeds intact (use 2-3 per jar)
- 20-30 cloves garlic , peeled and lightly smashed (use 4-5 per jar)
Instructions
- Make the pickling spice first. Simply combine all the spice ingredients in a small bowl and stir well.
- Prepare your jars and lids for canning. I like to run my jars through the dishwasher to sterilize them, then keep them warm until ready. Pop your lids into a small pot with simmering water to sterilize just before you’re about to seal your jars.
- Make the brine. Bring the apple cider vinegar, white vinegar, water, and pickling salt to a simmer in a large stock pot to avoid any risk of contamination.
-
Fill the jars. Into each sterilized jar, add 2-3 tablespoons of your homemade pickling spice, 2-3 fronds of dried dill weed, 2-3 Thai red peppers for heat, and 4-5 smashed garlic cloves.
Then pack in your cucumbers—whole or sliced—snugly but without mashing them. Try to keep them below the jar’s neck by trimming if necessary.
- Pour the hot brine over the cucumbers. Leave about ½ inch of headspace above the pickles, just enough to cover them completely.
- Wipe down each jar’s rim. Use a clean cloth to wipe the rims. Then carefully place the sterilized lids and screw on the rings without touching the sealing edges with your fingers.
- Process the jars. Submerge them in a boiling water bath canner for 10 minutes. Once done, carefully remove and place the jars on a towel on your counter to cool. As they cool, you’ll hear a satisfying pop as they seal. Properly sealed jars sound solid when tapped and the lid will be slightly concave.
- Store in a cool, dry area. Your pickles will be ready to taste after about 7-10 days, but the flavor will only improve as they age. These jars keep beautifully for up to a year.
Notes
If you want to make refrigerator pickles instead of canned ones, just skip the boiling water bath and place the jars directly into the fridge. These last around 1–2 months and are great for quick, fresh snacking.
Nutrition
Calories: 114kcal | Carbohydrates: 14g | Protein: 3g | Fat: 3g | Saturated Fat: 1g | Sodium: 7006mg | Potassium: 344mg | Fiber: 4g | Sugar: 2g | Vitamin A: 245IU | Vitamin C: 21mg | Calcium: 142mg | Iron: 2mg
Serving Suggestions
I love grabbing a spicy dill pickle straight from the jar and eating it as an easy snack, but they also shine on sandwiches, burgers, wraps, and more.
- Pulled Pork Sandwiches with Crunchy Slaw
- The Best Garlic Burgers EVER
- Bacon Cheeseburger with Caramelized Onions
- Healthy-ish Fried Fish Sandwich
- Dill Pickle Chicken Salad
- Bloody Marys (a pickle garnish is my go-to!)
- Tuna Salad
- Potato Salad
More Easy Pickle Recipes to Try
- Quick Pickled Red Onions
- Quick Pickled Beets
- Pickled Green Beans
- Zesty Bread and Butter Pickles
- Sweet and Sour Asian Pickled Cucumbers
- Pickled Jalapeños
- Homemade Pickling Spice
We send good emails. Subscribe to FoodieCrush and get every post plus exclusive content delivered straight to your inbox.
Thank you so much for reading and supporting the companies I partner with. This helps me create more unique recipes and content for you. Some links here may be affiliate links, where I receive a small commission at no extra cost to you. As always, all opinions are my own.
Crunchy, spicy homemade dill pickles with bold garlic, fresh dill, and a kick of heat from Thai chiles. Can be canned for shelf stability or kept as quick refrigerator pickles.
- Total Time: 40 minutes
- Yield: 5-6 quart jars 1x
Ingredients
- 2 tablespoons black peppercorns
- 2 tablespoons mustard seeds
- 2 tablespoons coriander seeds
- 2 tablespoons dill seed
- 1 tablespoon allspice berries
- 1 teaspoon crushed red pepper flakes
- 10–12 bay leaves, crumbled
- 10–12 pounds pickling cucumbers (Kirby), scrubbed clean and whole or sliced
- 2 cups apple cider vinegar
- 2 cups white vinegar
- 4 cups water
- 5 tablespoons pickling salt
- 2–3 tablespoons homemade pickling spice per jar (from above)
- 2–3 fronds and stalks dried dill weed per jar (from a 2-ounce package)
- 2–3 small Thai red peppers per jar, split mid but seeds intact (10–18 total)
- 4–5 garlic cloves per jar, peeled and lightly smashed (20–30 total)
Instructions
- Combine all pickling spice ingredients (black peppercorns, mustard seeds, coriander seeds, dill seed, allspice berries, crushed red pepper flakes, and crumbled bay leaves) in a small bowl and stir well.
- Prepare jars and lids for canning: sterilize jars by dishwasher hot cycle or boiling 2 minutes per jar and keep warm; simmer lids in hot water.
- Wash and rinse jars and lids with hot water if making refrigerator pickles.
- Rinse cucumbers thoroughly and trim bloom end or both ends; keep whole or slice into spears or coins with skin on.
- Optionally soak cucumbers in ice water for 20–30 minutes or overnight for extra crispness.
- Bring apple cider vinegar, white vinegar, water, and pickling salt to a simmer in a large pot to make the brine.
- In each sterilized jar, add 2–3 tablespoons homemade pickling spice, 2–3 fronds/stalks dried dill, 2–3 split Thai red peppers, and 4–5 lightly smashed garlic cloves.
- Pack cucumbers into jars snugly but without mashing, trimming to keep below jar neck if needed.
- Pour hot brine over cucumbers leaving about ½ inch headspace.
- Wipe jar rims clean and place sterilized lids, screw on rings fingertip-tight without touching sealing edges.
- For canning: Process jars in boiling water bath canner for 10 minutes. Remove and cool jars on towel until lids pop and seal.
- For refrigerator pickles: skip boiling water bath and place sealed jars directly into refrigerator.
Notes
For less heat, omit chili peppers; to increase garlic flavor, add more cloves., Use a mix of apple cider vinegar and white vinegar for extra flavor complexity., Small, firm pickling cucumbers like Kirby are best for crunch., Soaking cucumbers in ice water before pickling enhances crispness., Water-bath canning yields shelf-stable pickles lasting up to a year; refrigerator pickles last 1-2 months., After opening, refrigerate and consume within a few weeks for best flavor and crunch.
- Prep Time: 30 minutes
- Cook Time: 10 minutes
- Category: Snack
- Cuisine: American
Nutrition
- Serving Size: Approximately 1 jar serving
- Calories: 114 kcal per serving
- Fat: 3 g per serving
- Carbohydrates: 14 g per serving
- Protein: 3 g per serving